
A purchase order reads “600 dock floats, complete with connectors.” The first truck arrives with the right number of floats, but the edge fasteners for the shore approach are on the second truck. The crew can only build the sections for which all the parts have arrived. This example follows a hypothetical order from quotation and trial assembly to delivery and replacement parts.
What should a floating dock manufacturer provide for a bulk project order? Ask for revision-controlled layout and connection drawings, a bill of materials by zone, an itemized quotation and a clear scope of supply. Before placing the order, agree on the trial assembly, approved sample, delivery schedule and after-sales terms. At dispatch, each shipment should have a package-level packing list, traceable production lot numbers and the inspection records specified in the contract. Use the same zone identifiers, part numbers and drawing revisions across these documents.
1. Send the site layout and choose which connections to trial-assemble
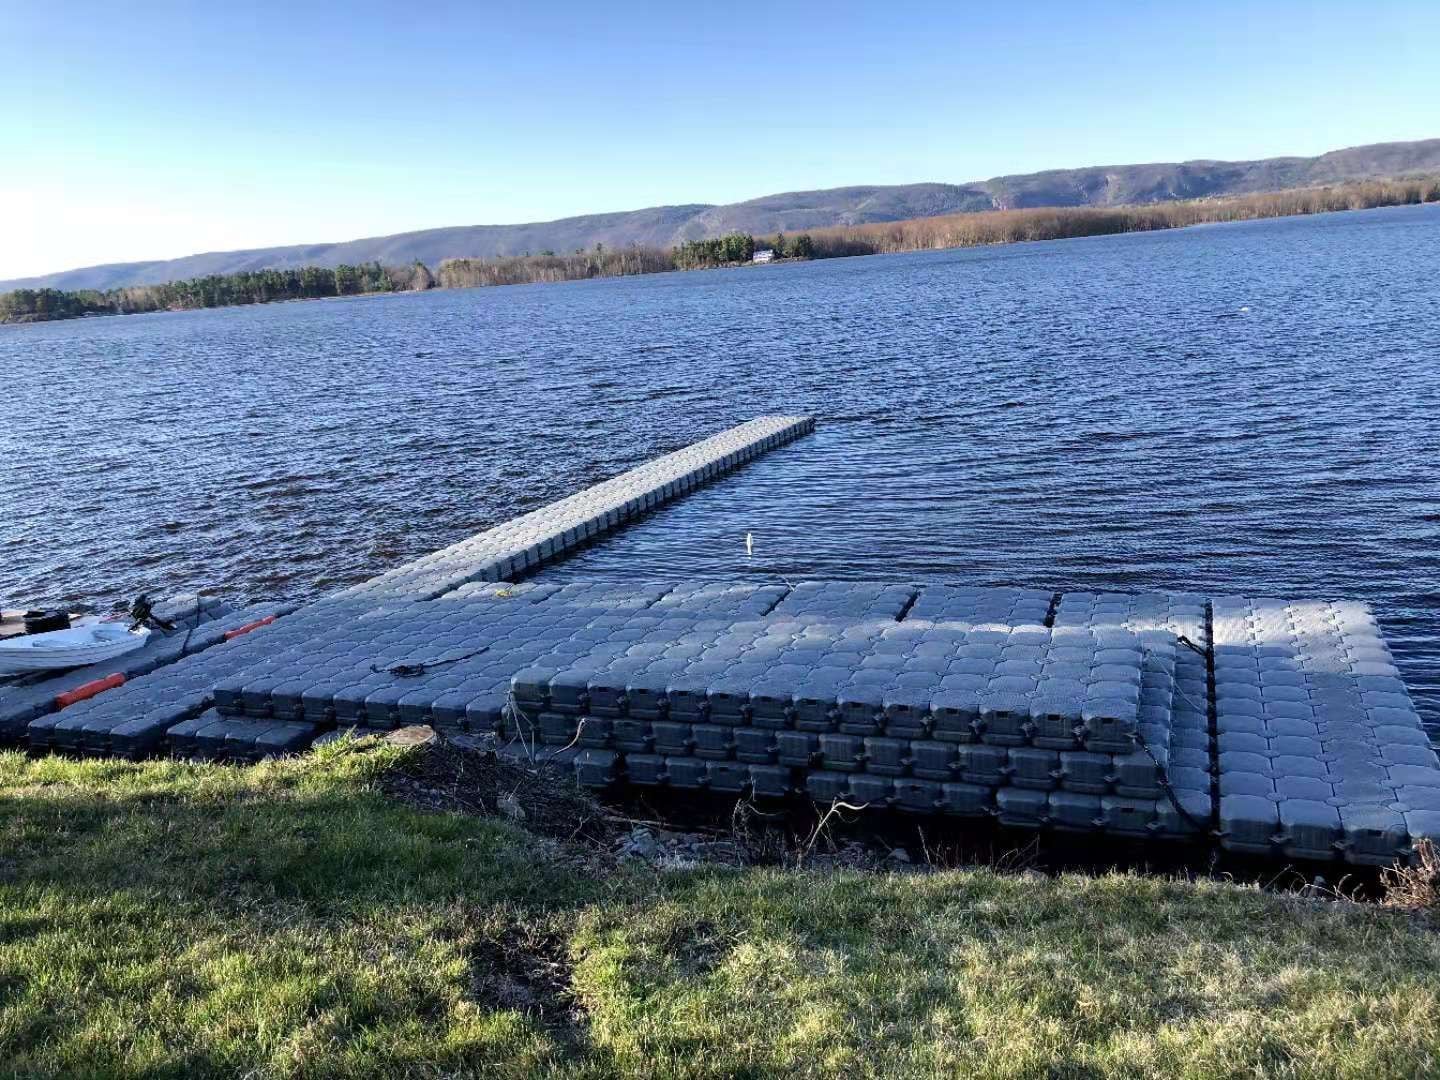
In this example, the approved layout calls for 240 modules in Zone A, the shore access walkway, and 360 in Zone B, the platform. Zone A goes in first. Mark the dimensions, intended use, shore connection and installation sequence on the enquiry drawing. Where the project includes anchoring, railings, an access ramp or vessel berthing, share the available interface dimensions and water-level information. For dimensions still open, ask the supplier to state its assumptions and identify the affected items. Record who designs, supplies and installs the anchoring and shore connections.
Ask for a sample set that represents the first work in Zone A. Trial-assemble a typical interior joint and an edge joint, then check the actual shore interface. Use the proposed float model, pins, edge fasteners, washers and installation tools. Check that the fasteners seat and lock as instructed, the seams align as shown on the drawing and the crew has room to use the tools. For an extension, trial-fit the new parts against an existing module.
Record the sample ID, float and fitting part numbers, drawing revision, photographs, measured results and approval date. Repeat the relevant checks on samples drawn from the first production lot using production fittings. Before production, agree who draws and witnesses the samples, what to measure and when to expand the inspection. If the manufacturer changes a mold revision or substitutes a fitting, record the first affected lot and retest the affected joints before approving the revised drawings and parts list.
2. Trace each quoted fitting back to a connection on the drawing
Ask the supplier to issue the layout, bill of materials and quotation against the same revision. Two quotes can cover the same deck area while including different edge fittings, fenders or tools. Compare the line items against the required scope before comparing the totals.
| Item | What the supplier should state |
|---|---|
| Dock floats | Model, dimensions, color, unit of measure and quantity by zone. List single and double modules separately where applicable. |
| Connection hardware | Part numbers and quantities by interior, edge or corner detail. Show the contents and quantities of each kit. |
| Project fittings | List fenders, handrails, mooring fittings, shore connections, anchoring components and tools. Assign responsibility for items still to be confirmed. |
| Spares and charges | Separate installation quantities from spares. State the treatment of packaging, freight, taxes, unloading and site services. |
Connection counts follow the actual layout. The same deck area laid out as a long walkway or a square platform can have a different number of edges and corners. Hisea Dock lists short pins, side fasteners and fittings for double-layer connections separately. Ask for the part numbers and quantities that match your drawings. Hisea Dock accessories catalogue
Take edge detail A-E02. The drawing identifies where it goes. The bill of materials identifies the parts, the quantity at each location and the total for the zone. The quotation prices those same part numbers. If it says “one connector kit,” ask for the kit contents so you can count the bolts and washers and confirm whether the installation tool is included.
3. Pack the first shipment around the work that starts first
List the first shipment as 240 Zone A floats, that zone’s interior and edge fittings, the tools needed to begin and the relevant drawings. If the contractor buys the shore connection separately, give it its own required-on-site date. Send the 360 Zone B floats and their fittings in the second shipment. If an item will miss the first truck, ask the supplier to identify the affected connections so the site team can see which work can still proceed.
| Item | Example packing list entry | Receiving check |
|---|---|---|
| Zone A floats | Shipment 1, bundles A-F01 to A-F12, 20 units per bundle, 240 total. | Count by bundle and retain the labels and production lot numbers. |
| Zone A edge fittings | Shipment 1, box A-P03, six kits for detail A-E02, with a list of the contents of each kit. | Count the kits, then check the bolts and washers by part number. |
| Zone B floats | Shipment 2, 360 floats. Mark fittings with separate Zone B box identifiers. | Store the shipment by zone and issue materials against the Zone B list. |
These quantities and identifiers illustrate the paperwork. Use the approved drawings and packing plan for the actual order. List and pack spares separately so the crew can tell them apart from parts allocated to installation.
Put four dates in the delivery schedule: drawing and sample approval, availability of the first production lot for inspection, planned dispatch and required arrival on site. Work back from the start date to allow time for unloading, counting, trial assembly and any replacement shipment. If a quote says “20 days,” ask what starts the clock and whether day 20 means loading at the factory or delivery to the site. For a delay, ask which boxes or joints are affected and when the outstanding parts will arrive.
On the packing list, cross-reference shipment, zone, package ID, part number and quantity. If several small fitting packs share a carton, identify their location in the packing list and on the outer label. For delivery to a shoreline or temporary site, confirm truck access, unloading equipment and storage arrangements. Where an international order uses Incoterms® 2020, specify the named place or port and check the allocation of carriage, unloading and risk under the chosen rule. ICC guidance on named places and delivery
4. Count packages at handover, then inspect the contents
At transport handover, count packages, record visible damage and photograph affected labels. After unpacking, reconcile models, lots and quantities with the packing list. Follow the agreed sampling plan for visual checks, critical dimensions and trial assembly. Give transport handover, unpacking inspection and installed-work acceptance separate owners, deadlines and records in the contract.
| Finding | Evidence to keep | Next action |
|---|---|---|
| Shortage or wrong item | Box ID, packing list line, actual count and label photographs. | Identify the affected section and agree what will be sent and when it will arrive. |
| Transit damage | Handover record, exterior and unpacking photographs, and affected part IDs. | Keep the packaging and goods and follow the agreed claims process. |
| Trial fit fails | Float and fitting IDs, lot numbers, drawing revision and photographs of the joint. | Set aside affected lots, compare with the approved sample and agree on replacement scope and retesting. |
When a part will not fit, retain the sample and package labels before making any changes. Enlarging a hole, cutting a lug or forcing in a pin makes it harder to determine whether the cause was a packing error, a dimensional issue or an installation problem.
5. Write a replacement request the supplier can act on
Suppose the crew finds five kits in box A-P03 and the packing list says six. Record shipment 1, box A-P03, detail A-E02 and a shortage of one kit. Add the order number, missing part IDs, packing list line and unpacking photos. Ask whether the supplier will send a complete kit or individual pieces, when they will leave and arrive, and who will pay freight. When the replacement arrives, check it against the original kit list and close the shortage record.
If all six kits are present but one will not fit, keep the affected float, hardware and labels for review against the drawing revision and approved sample. Record the replacement part numbers, affected lots and retest method. Once the replacement arrives, test it at the same joint. Set separate after-sales terms for shortages, wrong items, transit damage, product defects and normal wear. For each, agree on evidence, response and resolution deadlines, freight and on-site labor. State when warranty coverage starts and what it covers for float bodies and fittings.
List commonly lost or worn fittings as spares and label them by part number. For sites where downtime matters, ask about replenishment lead times and how the supplier will check compatibility if the original version is discontinued. Hand over the final drawings, part numbers and spare inventory to the maintenance team so it can identify the installed version when it orders replacements.
Wording to add to your enquiry
Please quote the floats and fittings by installation zone using the attached drawing revision. Identify each fitting by connection detail. Include a sample set for trial assembly, with target dates for sample approval, first-lot inspection, dispatch and site delivery. Pack the first shipment around the work scheduled to start first. List any missing items and the connections they affect. Attach sample packing and factory inspection records and state who is responsible for unloading, replacement shipments, warranty handling and future spare parts. Flag any missing water, shore or installation information required for your quotation.

 English
 Thai
 Spanish
 French
 German
 Dutch
 Italian
 Arabic
 Indonesian
 Portuguese
 Turkish