
Buying modular HDPE floats? Ask the manufacturer to demonstrate three things before you order. Trace a finished batch back to its resin, assemble a representative joint using the fittings that will ship, and show which product configuration the test reports cover. Record the approved sample, drawing revision and acceptance criteria so you can apply the same checks when the shipment arrives.
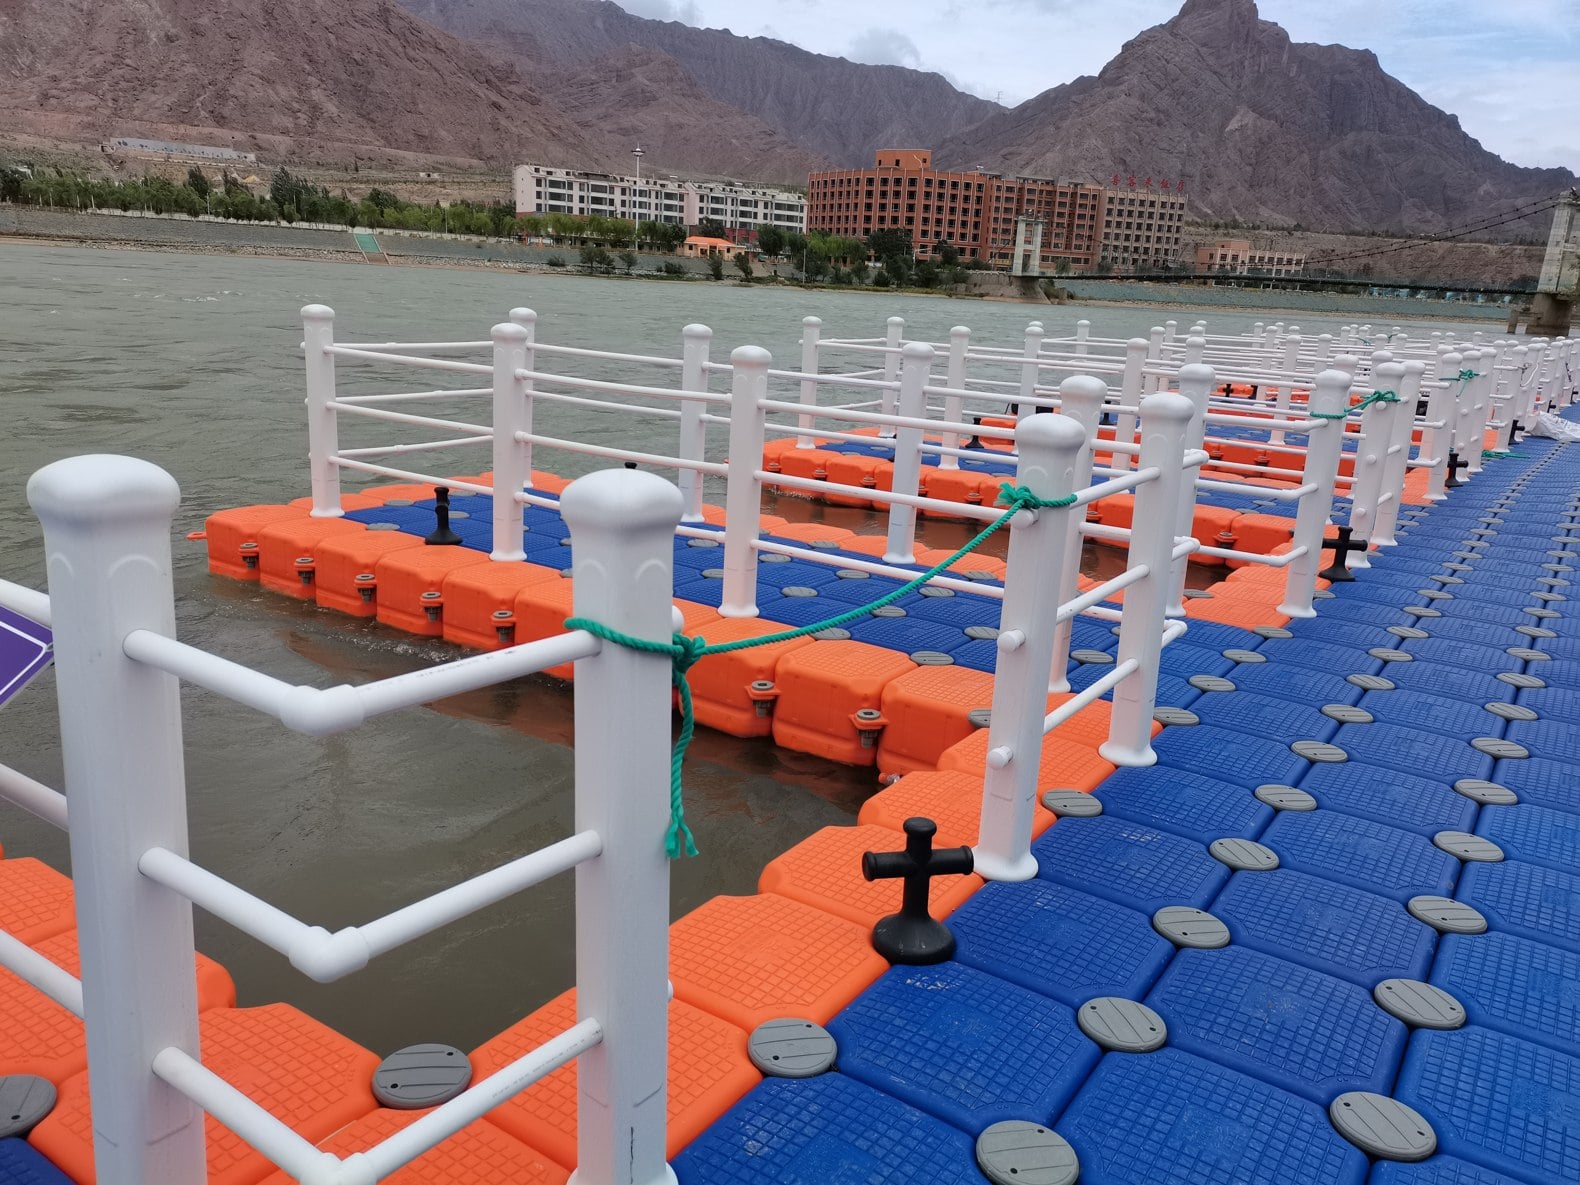
Can the supplier trace the HDPE back to the finished batch?
Hisea Dock uses imported high-density polyethylene (HDPE) for its floats. Its published manufacturing process includes adding a UV-resistant additive, blow molding, trimming and fitting the end cap. Ask for the resin grade and traceability records for the model you intend to buy. Hisea Dock manufacturing process
Start with a lot number on a finished float or its packaging. Ask the manufacturer to trace it through the production record to the resin grade and batch. A technical data sheet describes the grade’s typical properties. A batch document such as a certificate of analysis records the data reported for that particular resin batch. The production record connects the material to the finished float. If your order specifies a grade, resin origin or weathering requirement, agree how substitutions will be approved.
For year-round outdoor exposure, ask what was tested. The specimen might be unmodified resin, a prepared specimen containing pigment and additives, or a sample taken from the finished float. Check which formulations and colors the report covers, then review the light source, exposure cycle and the properties measured afterward. An estimate of outdoor service life requires evidence linking the test conditions to the expected environment. ASTM G154 fluorescent UV exposure practice
During a factory visit, ask for a live traceability check
Pick a finished batch from stock or inventory records and have the supplier trace it back to the material lot. Then reverse the question. If an issue were discovered with that resin lot, could the supplier identify the finished batches and shipments affected? Customer names and prices can be redacted. You need to see how the model, dates and batch identifiers connect.
If an order runs in several batches, ask how the packaging labels and packing list distinguish them. Keep those labels through receiving and trial assembly. If one group of joints fails to fit, those identifiers tell you which batch to investigate first.
Inspect four locations on the float
The orange low-profile float below illustrates four places to check. Use the drawing and approved sample for the exact model on your order.
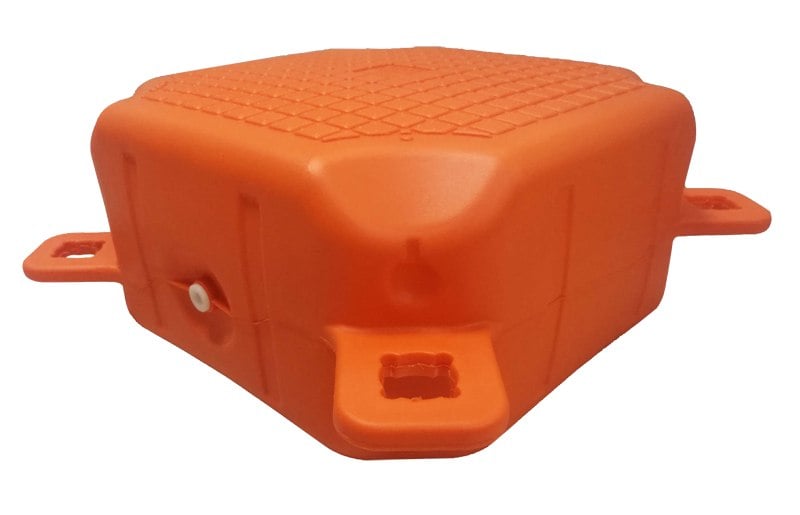
- Connection hole. Check for distortion or flash, measure the hole position and dimensions as agreed, and trial-fit the specified connector.
- Lug root. Look for cracks, incomplete molding or visible distortion. If the drawing specifies a load-bearing section dimension, measure it at the indicated location.
- Side plug. Check that the plug is seated and the surrounding area is intact. Review the applicable leak-test record for the delivered batch.
- Shell corner. Look for molding defects. Where local wall thickness is specified, use the agreed measurement locations and method.
Unit mass helps compare batches of the same model when each unit is weighed with the same parts fitted. Keep the weight, local thickness and leak-test results as separate entries in the inspection record so any variation can be investigated directly.
What if both quotations say 500 × 500 mm?
Check whether that dimension refers to the float body, the overall outline including lugs, or the installed module pitch. Compare float height, hole positions measured from the drawing datum, lug elevations and connector part numbers. For an existing dock, ask the supplier to trial-fit the replacement against an original module if one is available. A module may fit inside the opening while the pin still fails to seat or the deck surfaces fail to align.
Agree on the sealing check as well. For a float with a plug, confirm the assembly stage at which sealing is checked, the test conditions and the pass criteria. If you want to witness the test, specify the sample identification and the results to record in the order.
Trial-assemble a center joint and an edge joint
For a system in which four square floats share a center pin, build a 2 × 2 sample on a level surface using the proposed production configuration. Follow the installation drawing for the lug stacking order. Confirm that the pin can be inserted and fully locked with the specified tool, then check deck level differences and gaps against the agreed criteria. Assemble a separate edge joint using the parts listed for it. Include a representative corner, mixed-module joint or existing dock interface where the project calls for one.
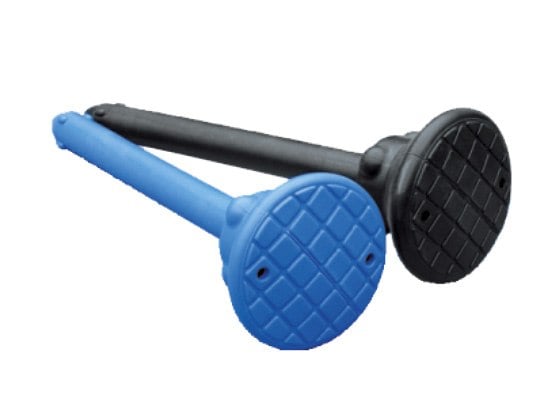
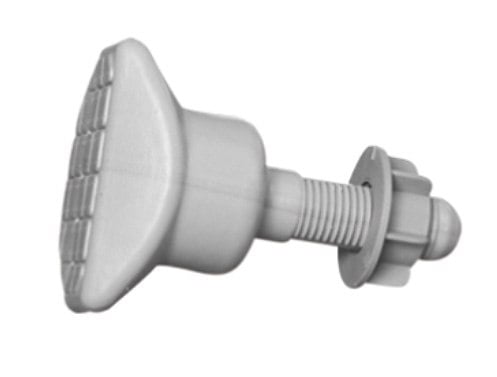
If a pin binds, record the location and part IDs before making changes. Swap in an approved float or pin of the same specification to narrow down the cause. If the approved pin binds at the same point across several production assemblies, check the holes and lug elevations. If the fault follows one production pin, start with its part number and dimensions. Confirm the cause by measurement and retesting. Hold any joint that requires drilling, force or improvised shims to fit, pending review.
Once the trial passes, keep the component list and take two photographs for the receiving team. One should show the locked center joint and the other the completed edge joint. Include spacer and fastener part numbers where applicable.
Read the test specimen description before the headline result
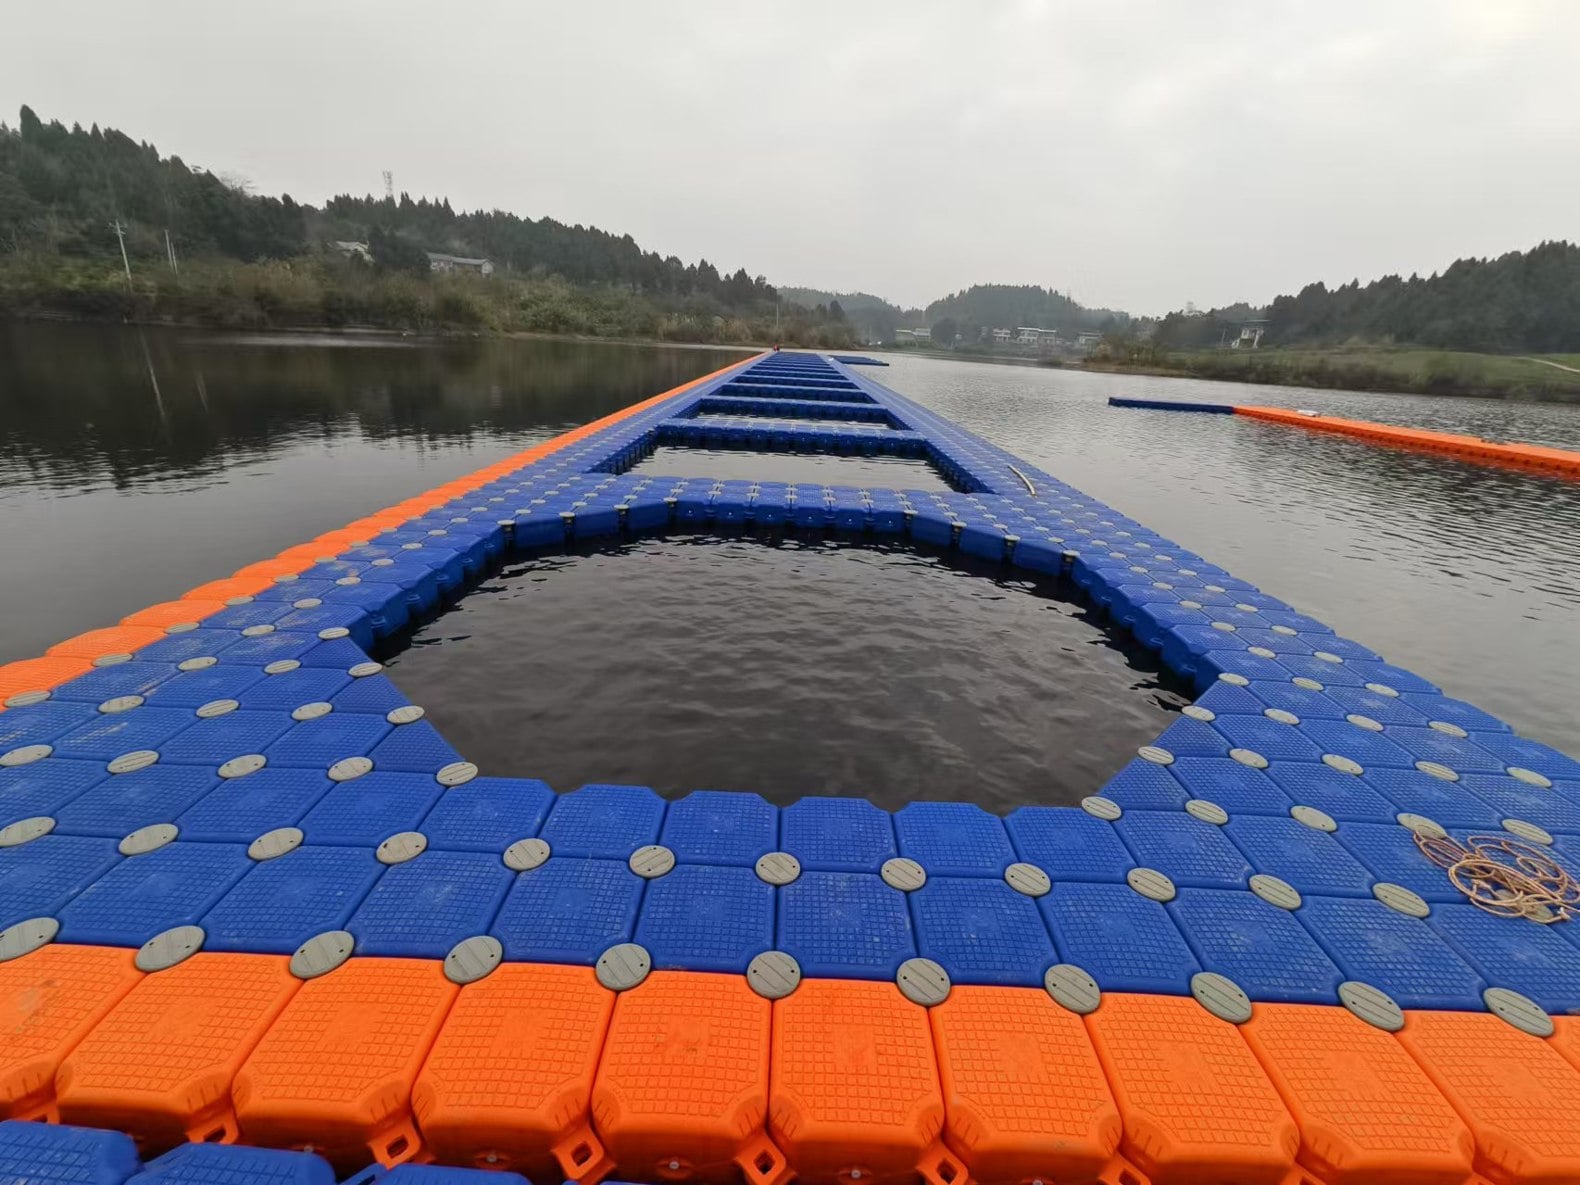
Hisea Dock’s quality page lists a maximum force of 14,389 N for a diagonal tensile test. To assess whether the result applies to your order, request the full report and check the float models, connectors, number of units, loading direction, fixture arrangement and condition at the end of the test. The reported value is the maximum force for that test. The allowable load on an installed platform requires a separate assessment of its arrangement, load distribution, required freeboard and site conditions. Hisea Dock diagonal tensile test
Keep three documents distinct in your purchase file. A quality management certificate identifies the organization, facilities and scope covered. A model test report documents the configuration tested and the conditions used. A final inspection record should identify the batch being shipped. ISO management system standards
Does the report apply if the model suffix differs?
Ask what the suffix denotes. For a color change, look at the scope of the material or weathering evidence. For a change in height, lugs, pins or shell geometry, compare the test specimen with the proposed product and identify which changes affect the test in question. If the supplier says the existing report applies, ask for the relevant drawing revisions and their technical basis. Where coverage remains unclear, agree on further verification as a purchase or release condition.
For third-party reports, retain the complete document with its report number, sample description and test conditions. If the conclusion says “pass,” find the criterion behind that decision. When the report lists measurements alone, use the acceptance limits already agreed in the order. Compare suppliers after matching the test configurations and conditions.
Compare production units with the approved sample
Keep an approved set of the float and fittings, with drawing revisions and photographs attached to the sample record. Once production begins, draw a sample from the first production batch or before shipment, as agreed. Recheck the critical dimensions and joint fit. For split shipments, require the packing list to identify the batches and follow the agreed sampling plan for each delivery.
If the supplier proposes a resin change, mold adjustment or replacement pin, record what is changing, the first affected batch and which interfaces or tests need review. Verify changes that affect fit or performance before updating the approved sample, drawings and part list. This gives the receiving team a basis for deciding whether older and newer batches can be assembled together.
Write an acceptance plan the receiving team can use
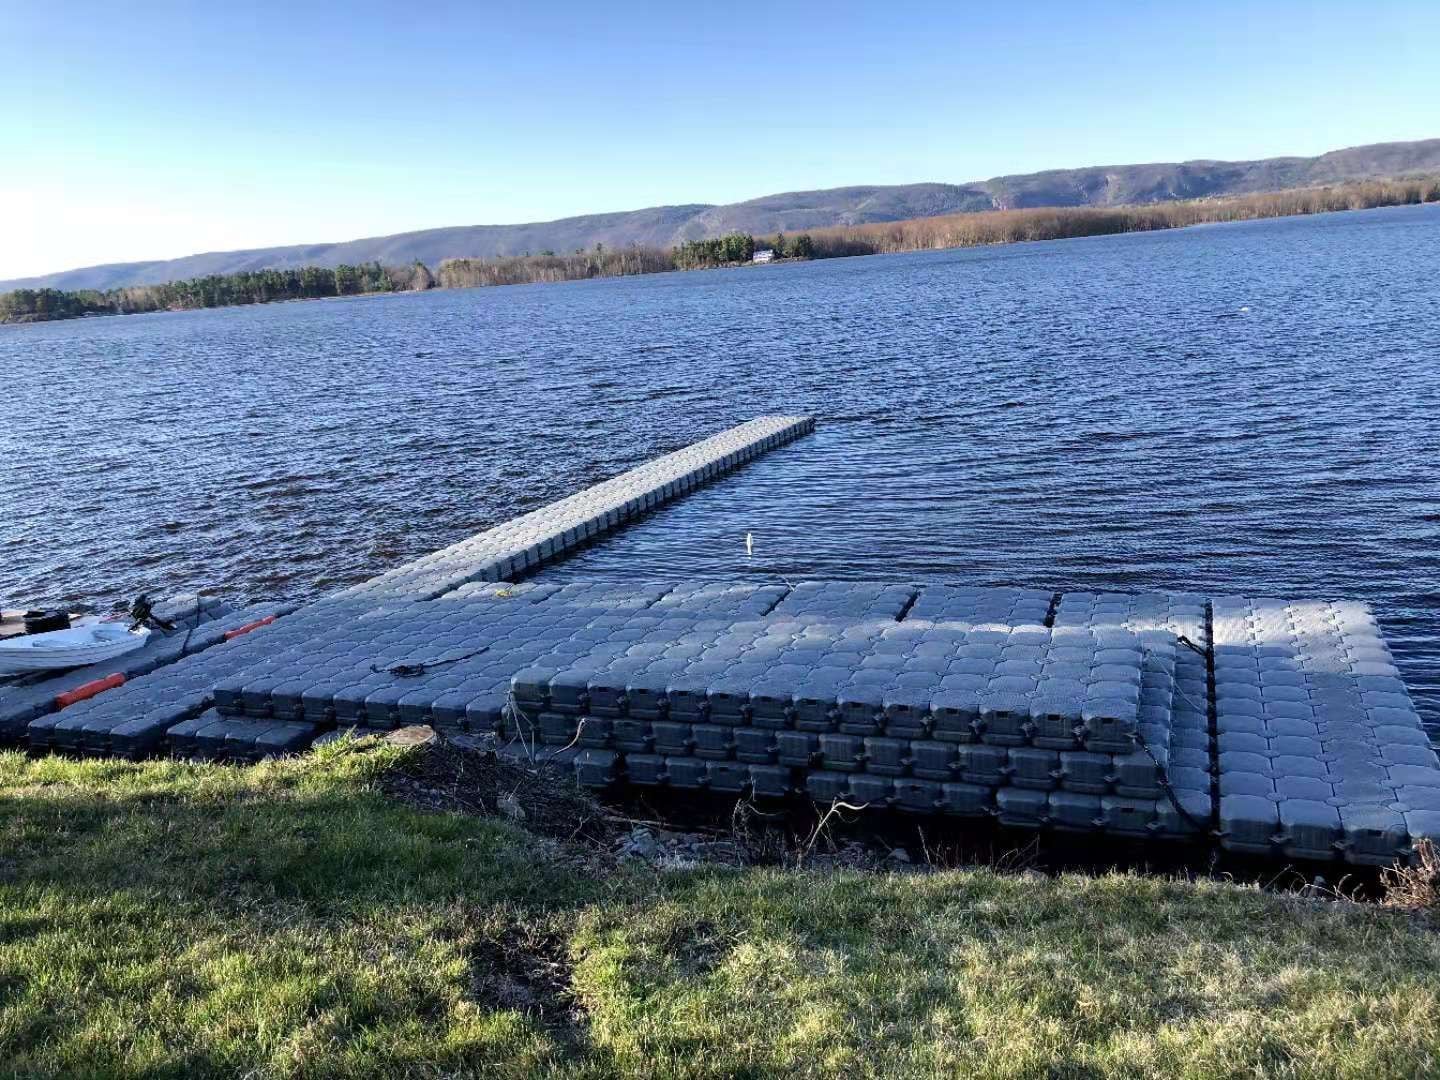
Attach the float and fitting IDs, drawing revision, approved sample, sampling method, measurement locations and acceptance limits to the purchase order. At receiving, log the sampled carton IDs, measured values and trial assembly photographs. Apply the agreed acceptance criteria to each batch.
| Decision | Finding | Receiving action |
|---|---|---|
| Release | Batch records match the shipment and the agreed sample checks pass. | Accept the batch and retain measurements and joint photographs. |
| Hold for clarification | Labels and records do not align, or report coverage is unresolved. | Request the batch cross-reference or written basis for model coverage, then reassess. |
| Segregate and retest | Cracking, leakage, a dimension outside tolerance or a joint that fails to lock as specified. | Identify and segregate affected goods. Arrange retesting or replacement under the purchase terms. |
A usable retest record names the batch, carton, components and joint location. For example, “The edge joint on the sample from the second delivery will not lock. See the attached carton label, fitting ID, photographs and measurements.” Ask the supplier to identify the affected scope and propose corrective action. Check replacement components against the original drawing and acceptance criteria so the results are comparable.
What to ask the manufacturer for in your first enquiry
Please provide the drawing and revision for the proposed float, the HDPE grade and batch traceability method, the matching fitting list and the applicable test reports. We would like to trial-assemble a center joint and an edge joint using the proposed delivery configuration. Before ordering, please confirm the sampling plan, acceptance criteria and how nonconforming batches will be handled.
The photographs show Hisea Dock products and project details. Match the fittings to the model and joint drawings for your order. Hisea Dock accessories




 English
 Thai
 Spanish
 French
 German
 Dutch
 Italian
 Arabic
 Indonesian
 Portuguese
 Turkish