
HISEA DOCK / ILLUSTRATED TECHNICAL GUIDE
Start at the connection lugs. Check the module interfaces, matching hardware and site layout together, with future alterations in mind.
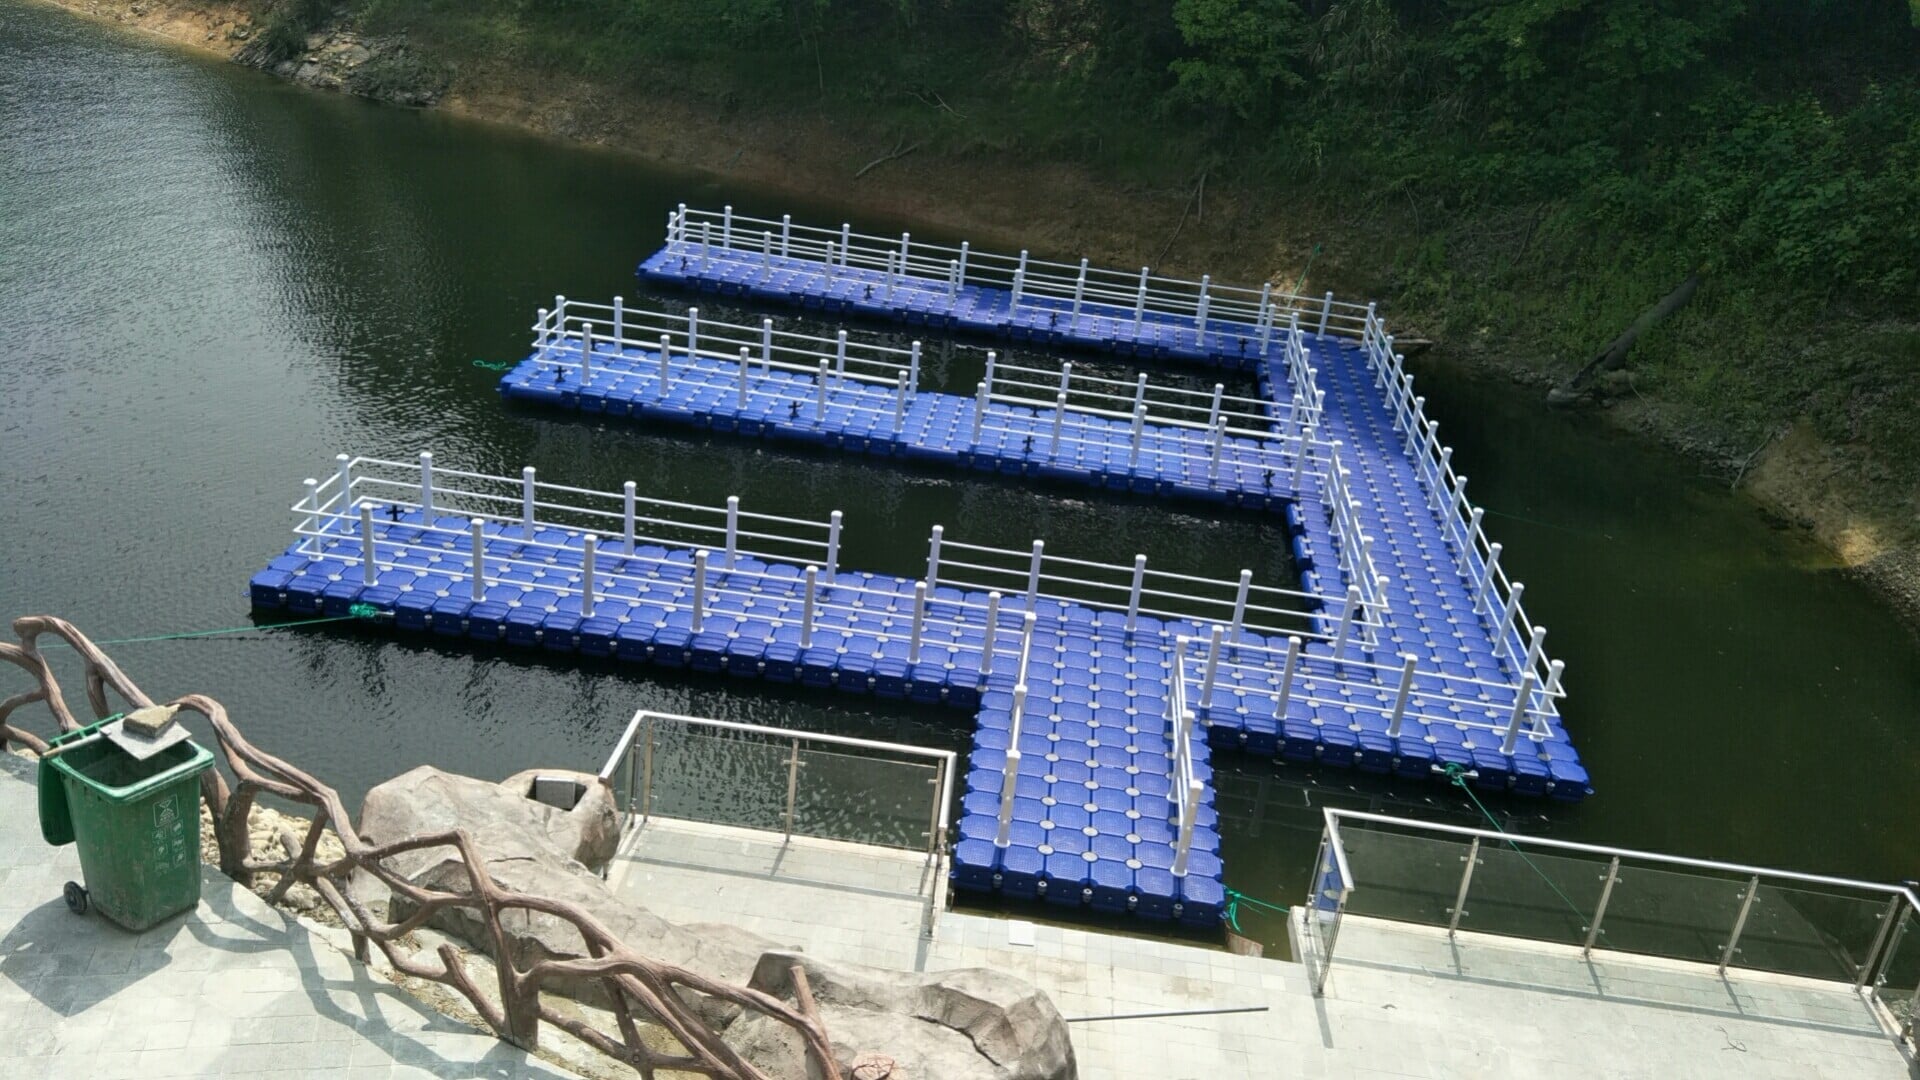
Check the lugs before fitting the pins
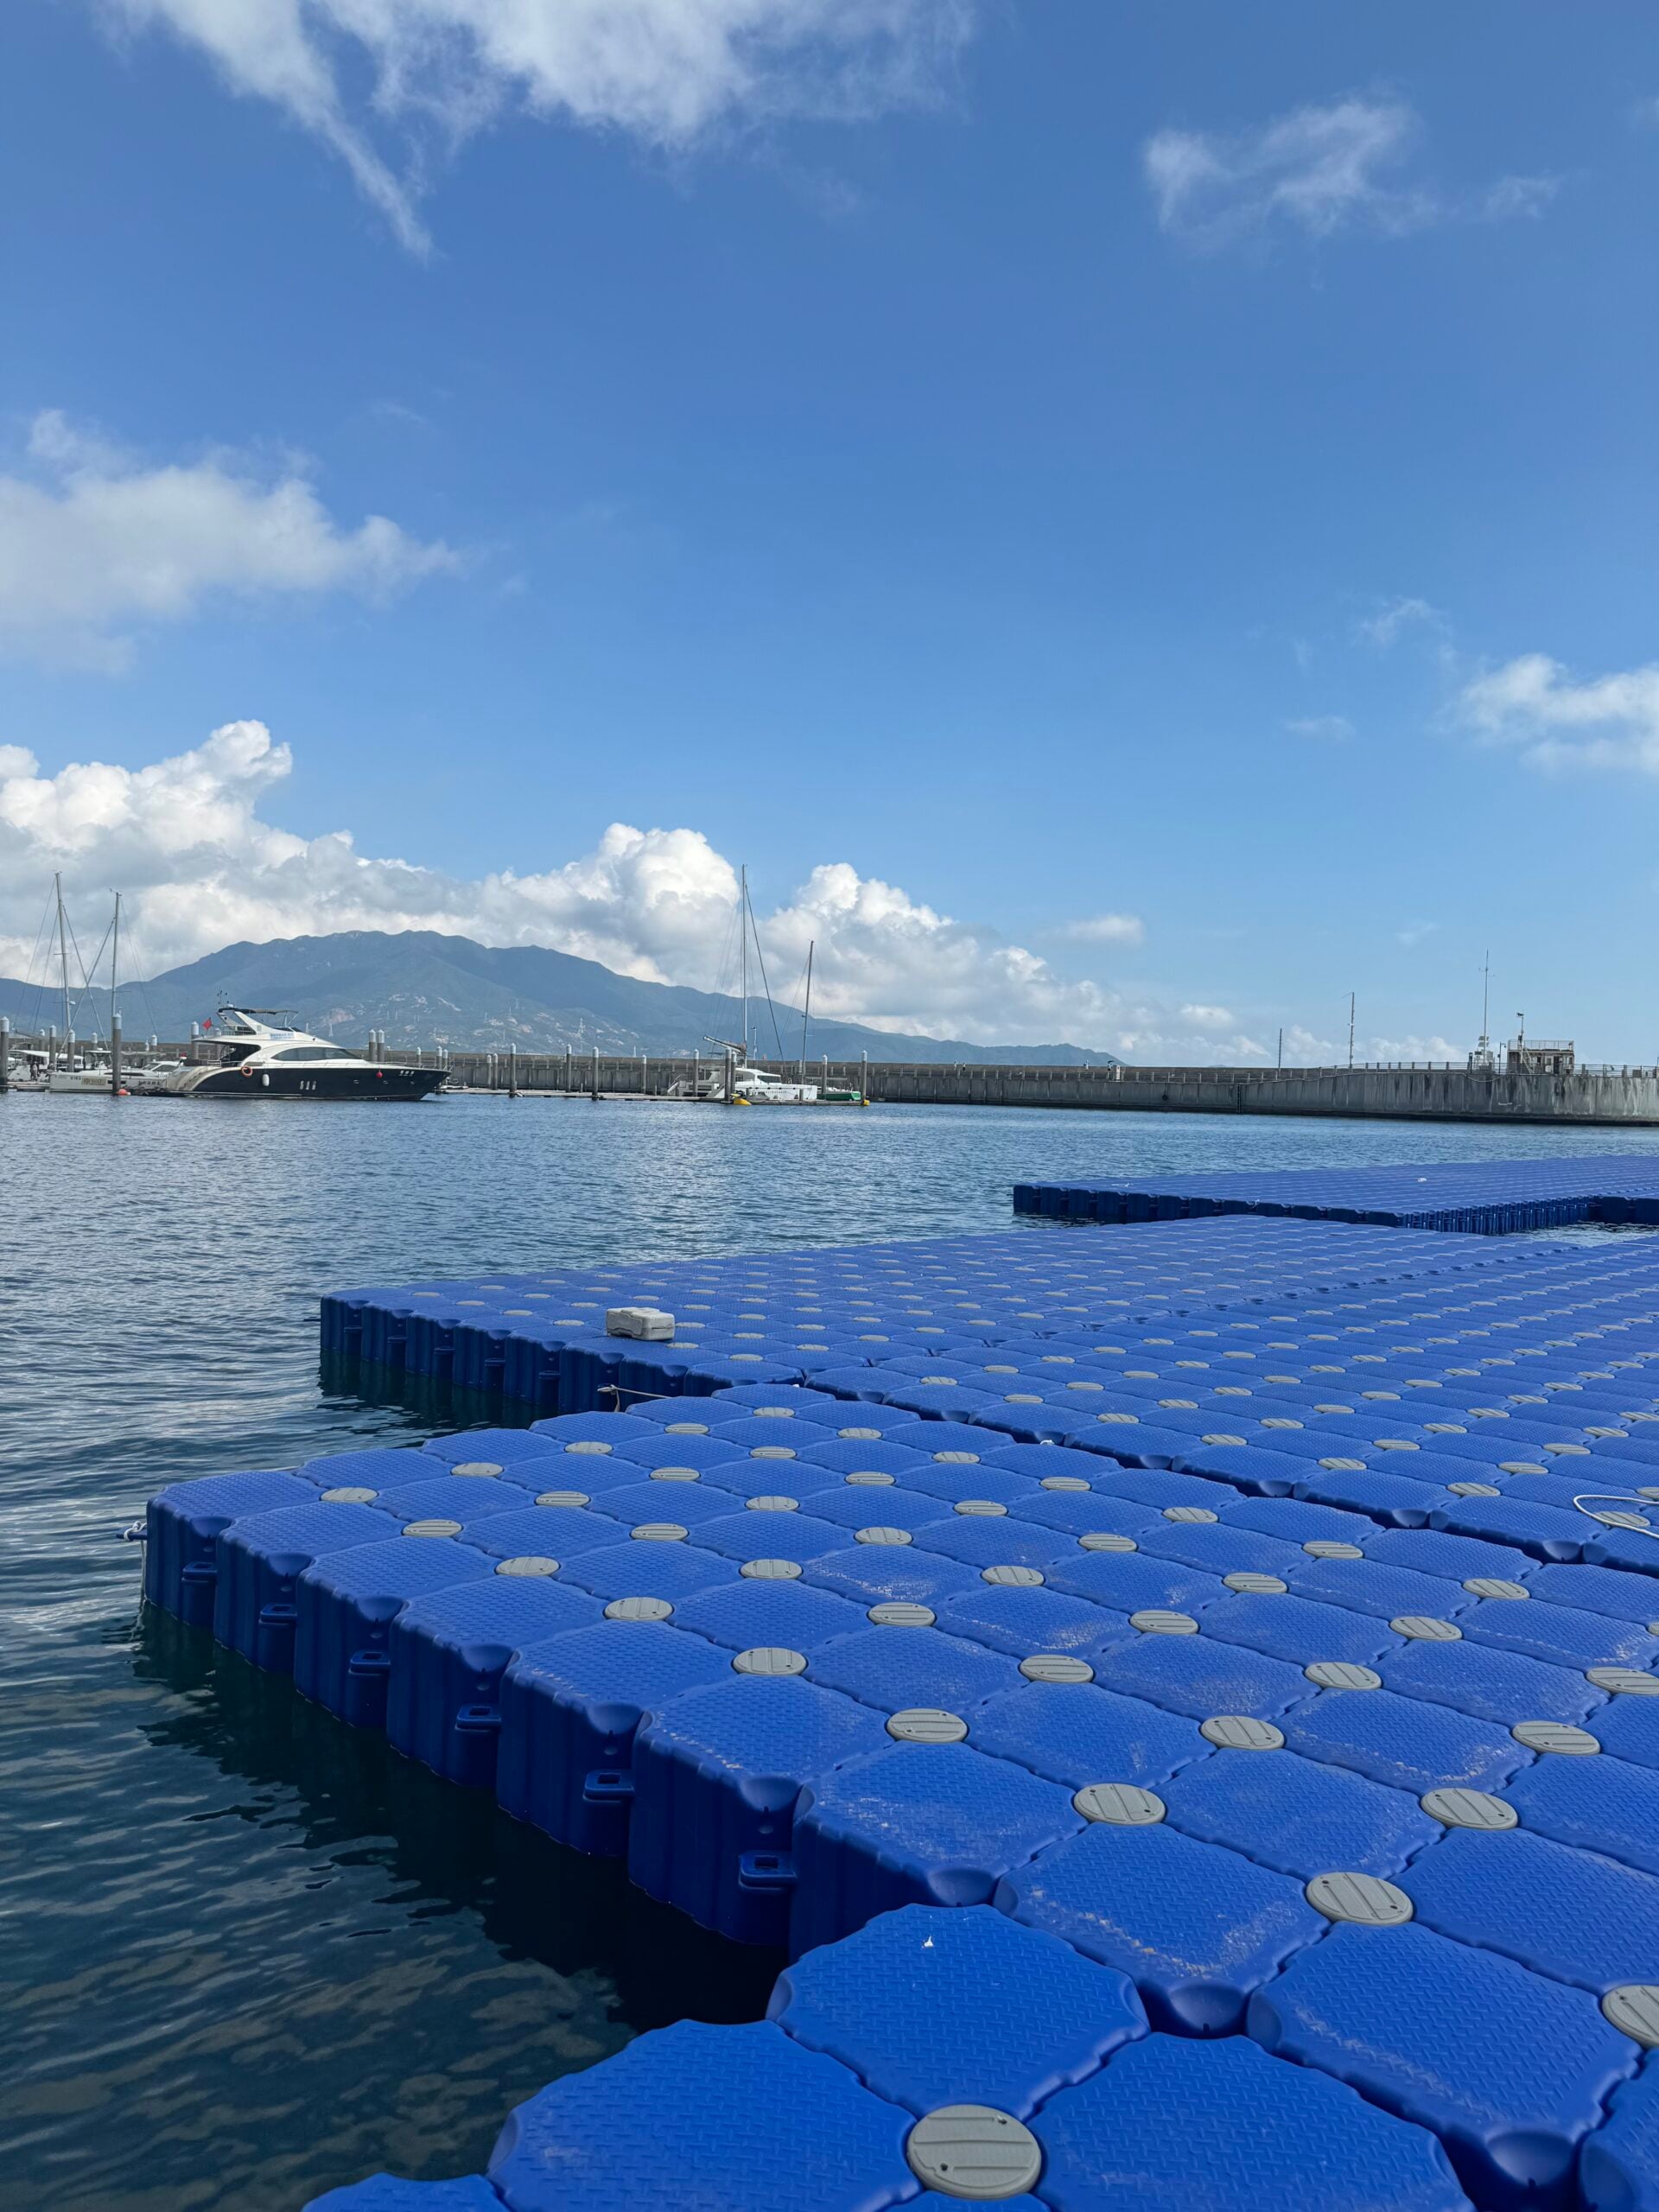
The round pin heads are easy to see from the deck. The connection begins underneath them, where the lugs meet. Their numbering and stacking arrangement must follow the instructions for that model. Hisea’s public installation guide starts with arranging the numbered modules.[1]
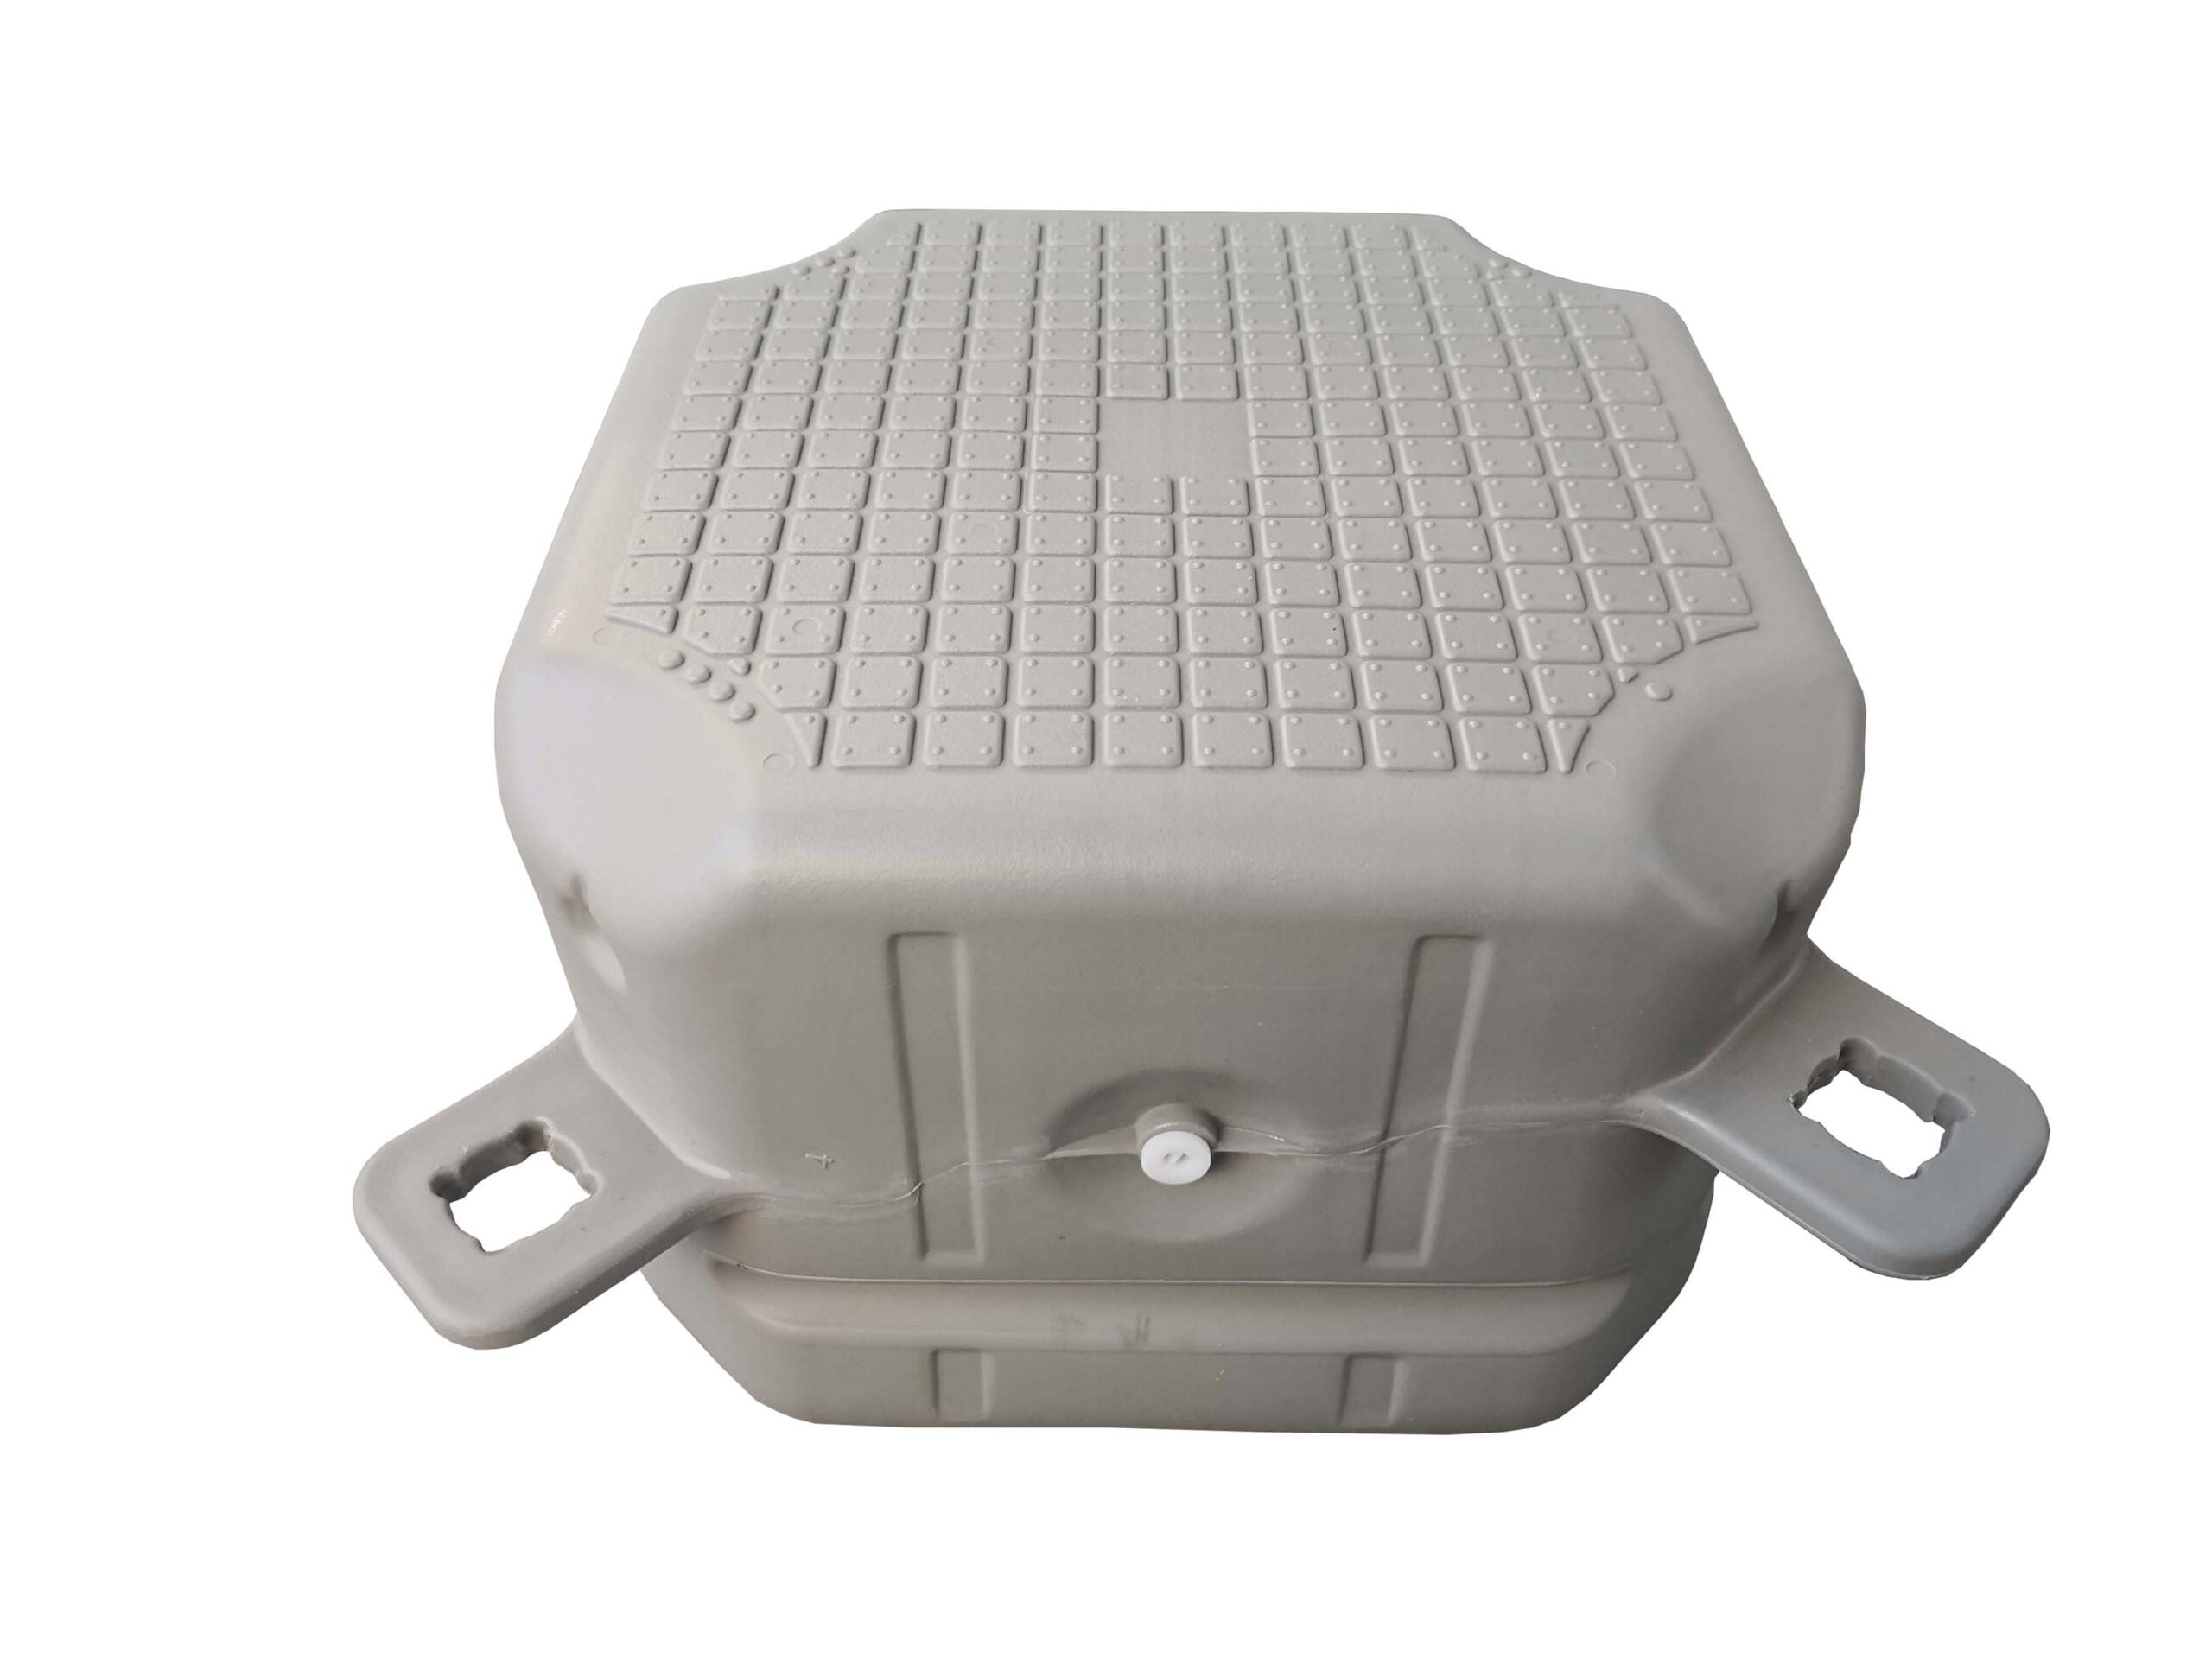
The layout needs connection details as well as dimensions. Identify module types, orientation, lug combinations and edge joints. Mark corners, branches, shore connections and accessory positions before assembly.
Similar colours or deck patterns do not establish compatibility. When combining low-profile floats, standard units or different product versions, check interface heights and the deck transition under operating conditions.
Match each connector to its joint
Hisea lists short pins for joining floats, side screws for edge fixing, and washers of different types for specific lug combinations. Select them from the joint detail rather than using washers as improvised gap fillers.[1][2]
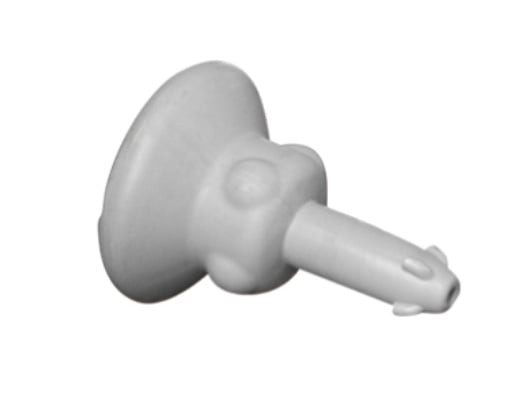
Connecting pin
Match the pin type, engagement length and locking method to the module. Check seating and locking after fitting.
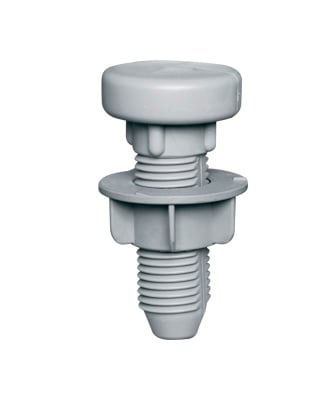
Matching screw assembly
Different joints may require different screw assemblies. List the type, quantity and installation position in the order.
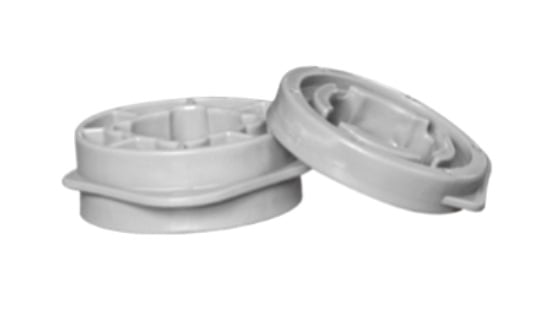
Washers
The lug combination and supplied joint instructions determine whether a washer is required and which type to use.
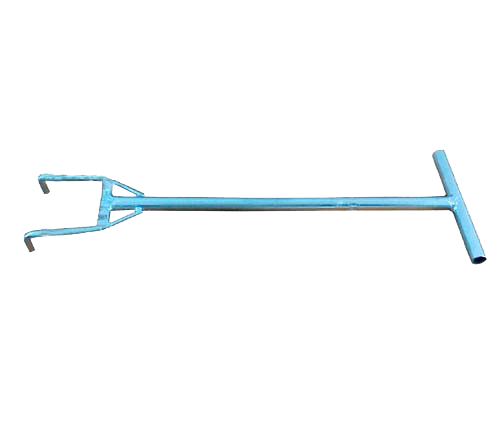
Assembly spanner
Hisea’s catalogue lists a spanner for locking and unlocking connecting pins. Follow the method for the supplied model.[2]
Double-layer arrangements have their own hardware. The catalogue lists long pins and long bolts for these connections. Their use does not automatically double the platform’s allowable working load; review the proposed arrangement for the project.[2]
Keep the assembly sequence clear
Hisea’s public guide outlines numbered positioning, short-pin fitting, spanner locking and short-screw reinforcement.[1] A project installation also needs preparation and checks before opening:
- Check the delivery and inspect the lugs.
Compare modules, fittings and tools with the layout and parts schedule. Set aside components with cracks, deformation or transport damage for assessment.
- Set the orientation and trial-fit representative joints.
Use a suitable, safe work area. Check numbering, lug stacking and alignment. Investigate a mismatch before proceeding; do not force the fit with hammering or enlarged holes.
- Complete the specified connections.
Fit the correct pins and use the matching tool. Complete edge joints with the specified screws and washers. Any locking direction, travel or torque requirement must come from the instructions for that model.
- Inspect the connections and complete the site installation.
Check pin seating and edge fittings, then complete restraints, shore access and railings. Provide temporary restraint and worker protection as required by the site method, particularly when moving assembled sections.
- Inspect, accept and record the completed arrangement.
Review joints, local changes in deck level, accessories and positioning components. Open the installation after the required acceptance checks. Retain the final layout, fitting types, inspection record and maintenance instructions.
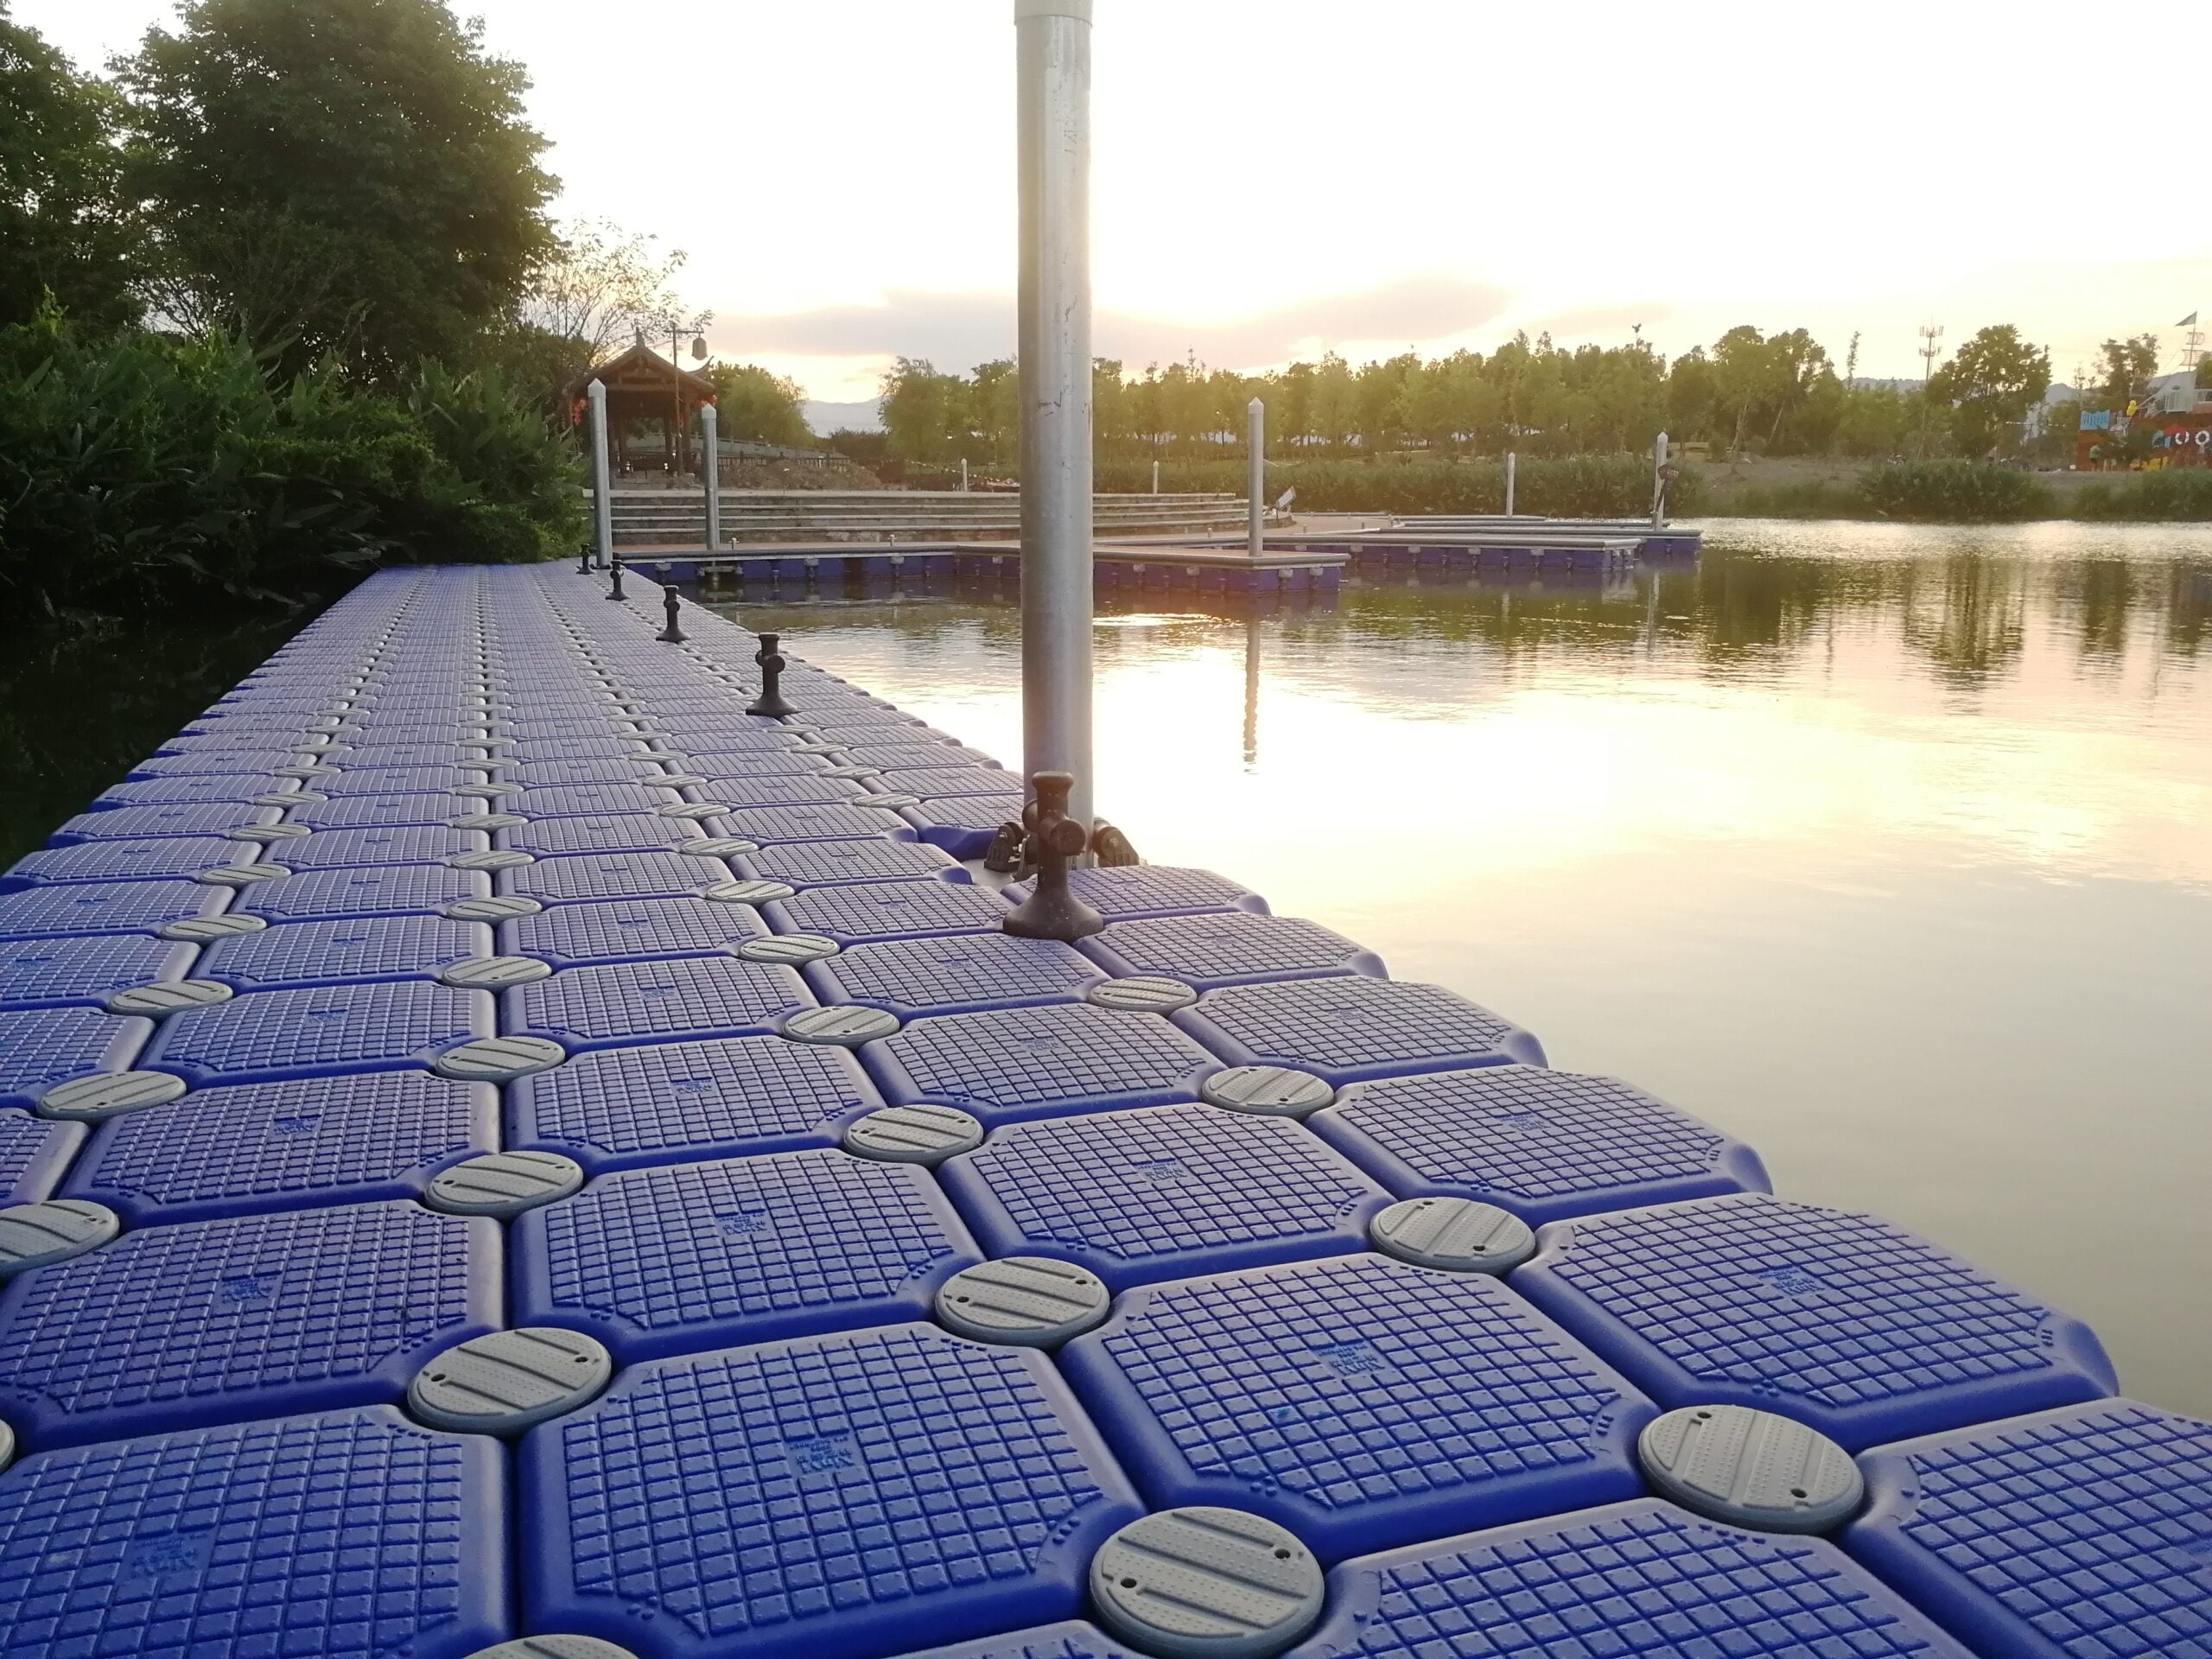
Before extending, review what the existing platform can accommodate
An extra row may change circulation, equipment positions and the area exposed to wind and current. A compatible interface answers one question. Whether the enlarged platform suits its new use requires a wider review.
| Review item | What to confirm |
|---|---|
| New and existing interfaces | Module type and version, lug geometry, interface height and matching hardware. Trial-fit where needed. |
| Existing condition | Lug cracks, distorted openings, worn or loose pins and float damage. Resolve damaged components before adding to the system. |
| Added loads | People, equipment, boat racks, canopies and local loading. Review freeboard and stability; area alone does not establish occupancy. |
| Anchoring and shore access | Changes in environmental loading, restraint locations and connections, plus gangway movement, support and access. |
| Circulation and accessories | Transitions, corners, routes, railings, mooring fittings and maintenance access. Issue an updated layout. |
Hisea’s maintenance guidance provides checks for pins, floats, shore connections and anchoring components. Use these when assessing the existing installation, then review the proposed extension and its intended use.[3][4]
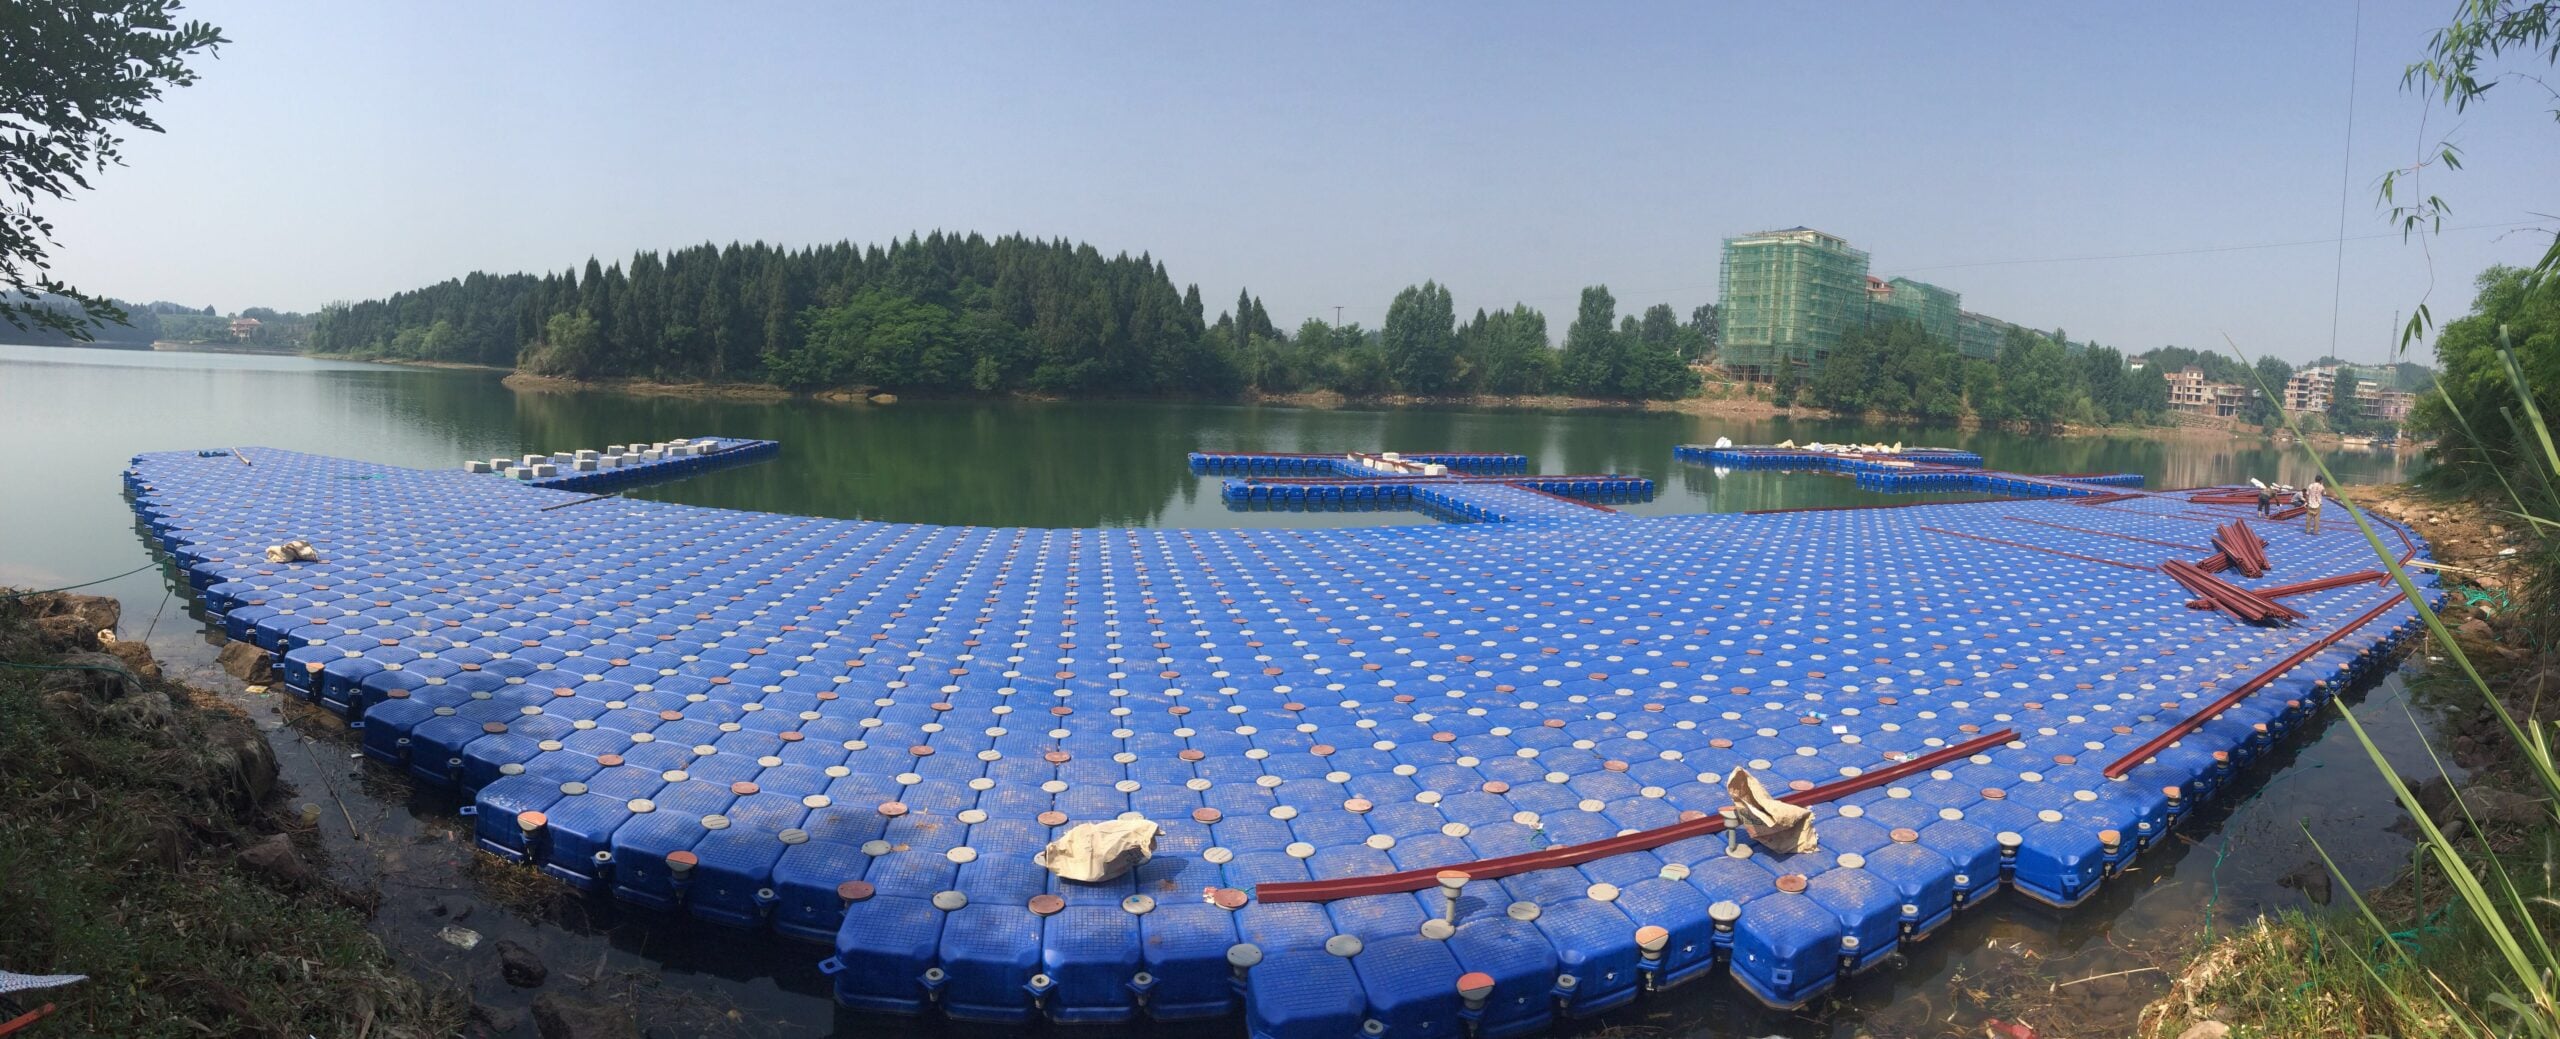
Questions to resolve before ordering
Can the original pins be reused?
Check type and condition first. Cracks, deformation, significant wear or abnormal locking require attention before reuse. Also confirm that retained fittings suit the joints in the proposed extension.
What should be kept for a future extension?
Record the intended direction and use of any later phase. Retain module and fitting types, connection drawings and supply records so that interfaces and replacement parts can be checked accurately.
Is the platform area enough for a quotation?
Include its use, dimensions, water and shore photographs, water-level changes and installation conditions. For an extension, add existing module details, close-ups of the lugs and information about new equipment.
Enquire about the layout and connections together
Send Hisea Dock site photographs and a preliminary layout, including any planned construction phases. Confirm the module and fitting schedule, connection details, installation guidance and responsibilities for anchoring and shore access in the quotation.
www.hiseadock.com
WhatsApp: +86 17369861101
Product and technical references
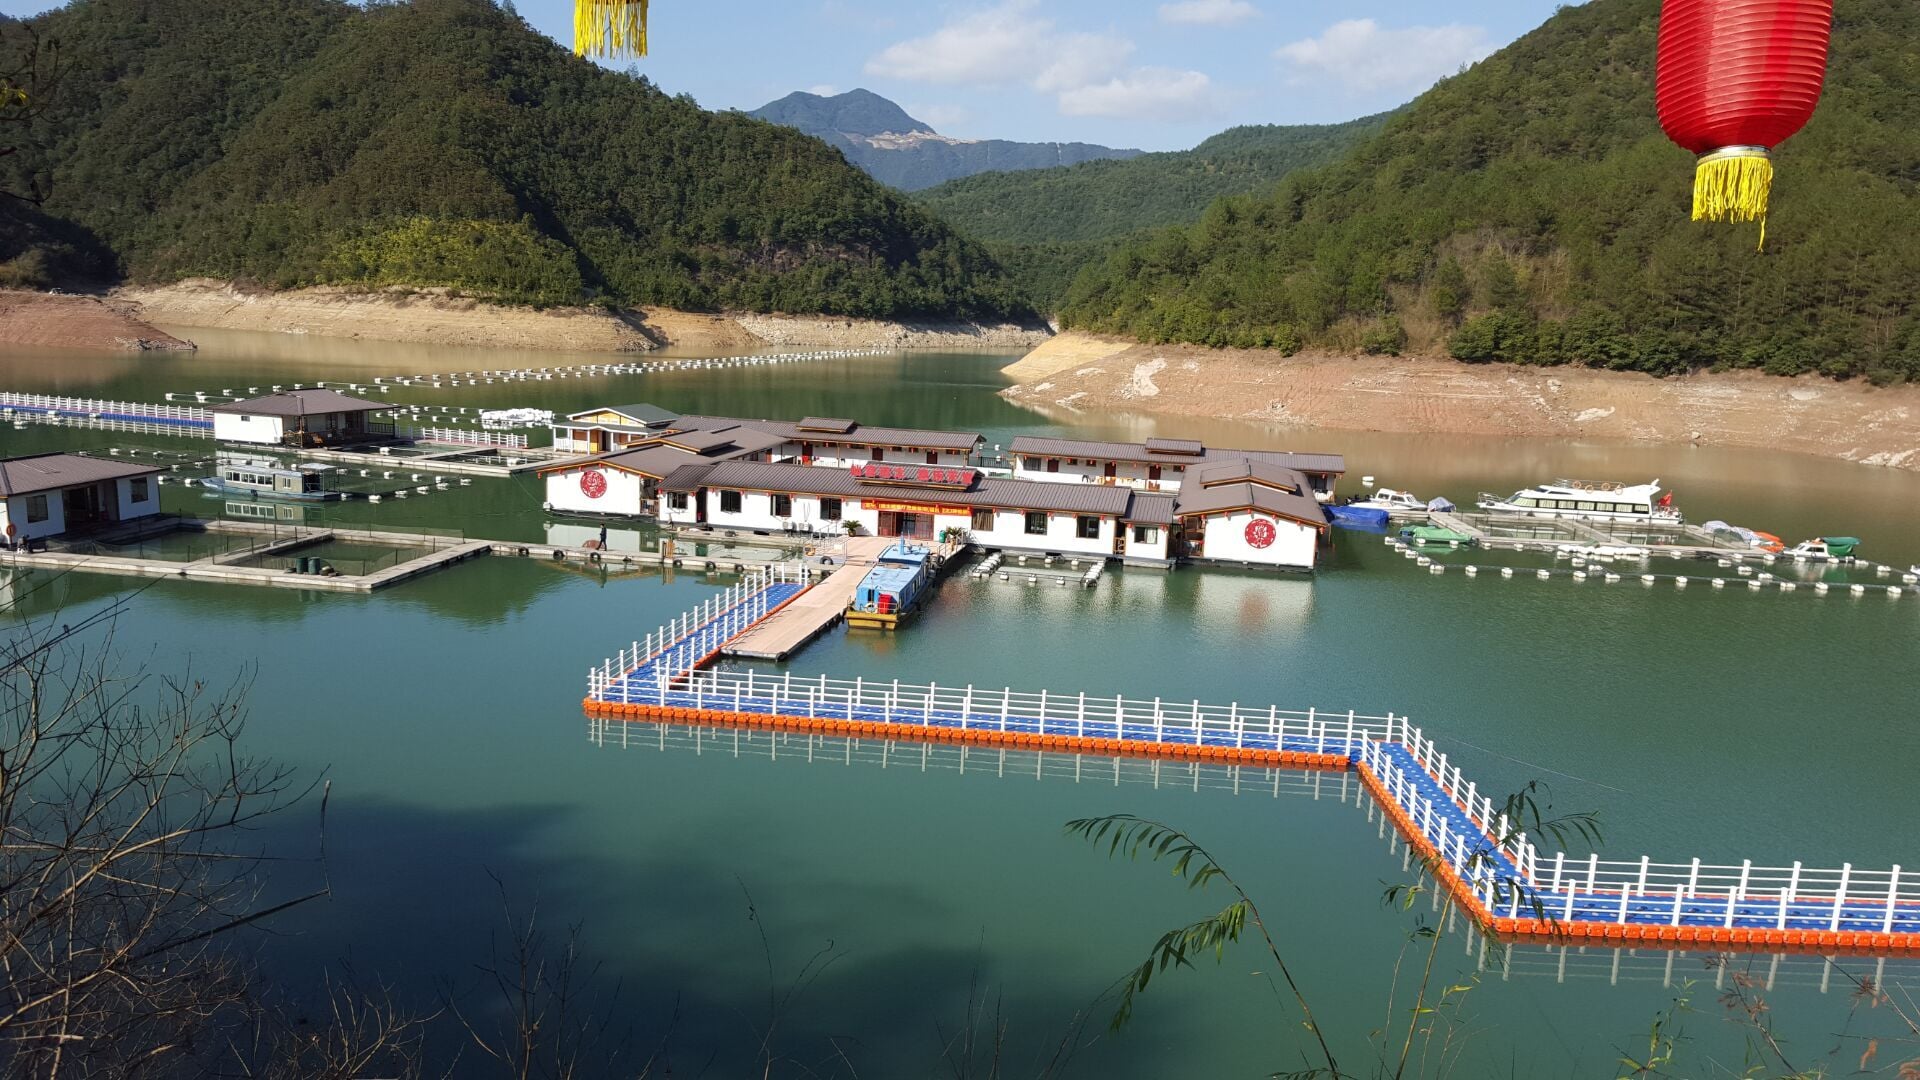
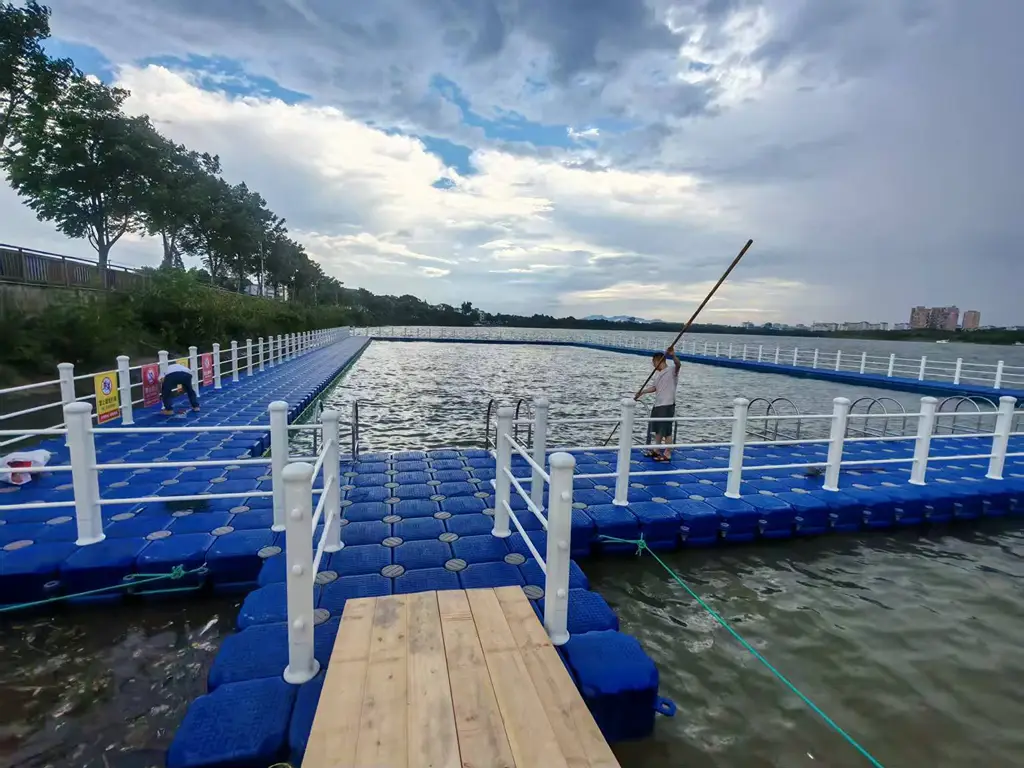
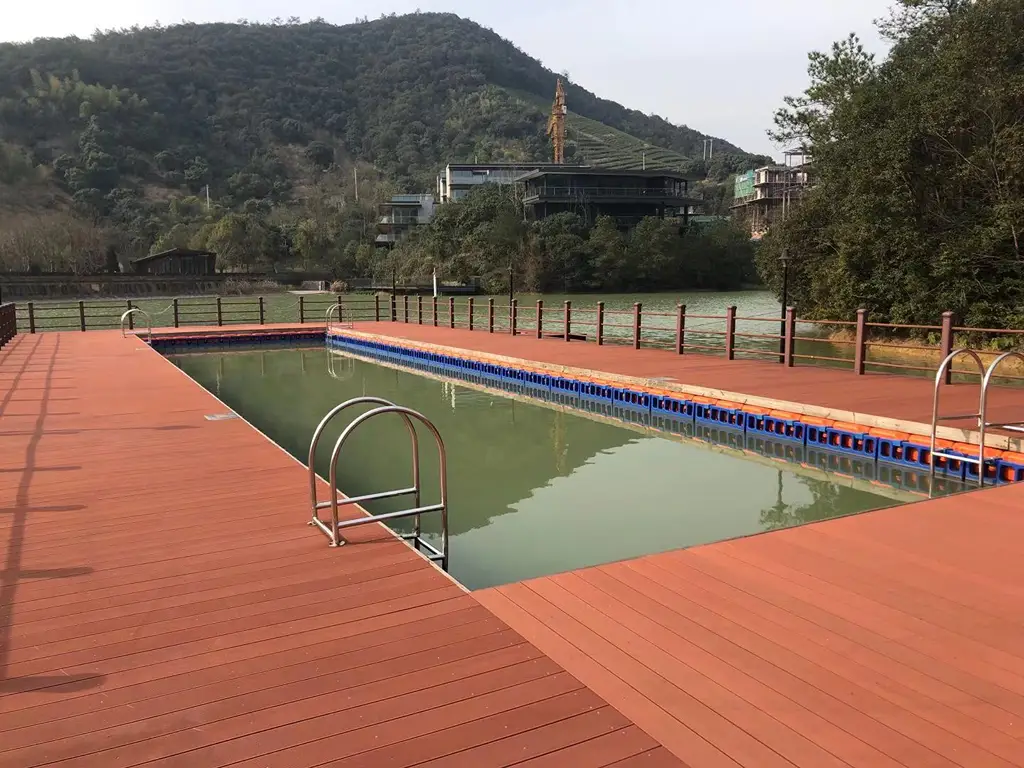
Connector functions and the basic connection sequence refer to Hisea’s published information. Installation and expansion checks are project review points; supplied model instructions and project documents govern specific joints, locking and acceptance. Nine existing company images include five product/tool images and four site photographs, rather than a photographed step-by-step installation.

 English
 Thai
 Spanish
 French
 German
 Dutch
 Italian
 Arabic
 Indonesian
 Portuguese
 Turkish