- Home
- Choosing the Right Size for Your Drive on Boat Dock
Choosing the Right Size for Your Drive on Boat Dock
Published: 2020-12-11 Modified: December 11, 2020


Related Articles
-
 April 06, 2020
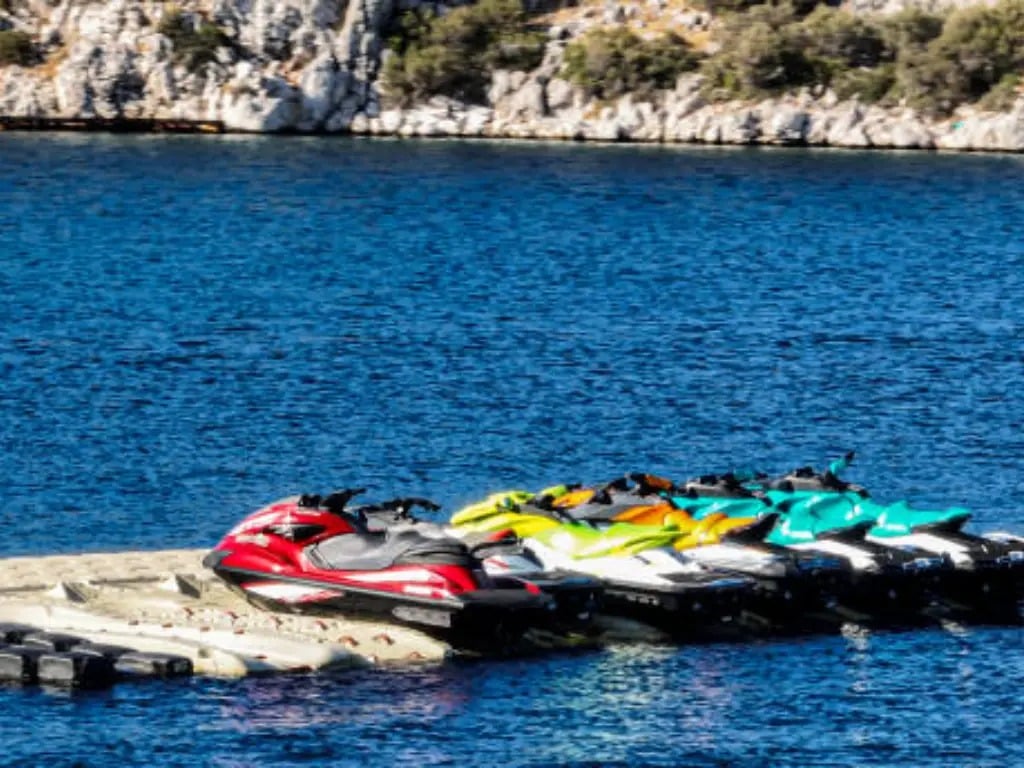
Best Jet Ski Floating Docks in The UK
-
 May 22, 2023
In 3 Minutes - Learn The Different Types of Boat Lifts
-
 April 07, 2026
The Ultimate Guide: Cheapest Way to Build a Floating Dock Without It Sinking
-
 September 29, 2019
Floating Dock design and considerations
-
 April 29, 2024
Expert Tips: How to Dock a Jet Ski Successfully
-
 November 25, 2025
How Wide Is a Pontoon Boat? Complete Size, Stability, and Towing Guide